Camera-Phone Photography – Moment’s Anamorphic Lens: Unboxing and Review
I’ve become obsessed with Moment lenses. I’ve stepped up my photography game in recent years, and with the iPhone cameras being of such high quality these days, I’ve elected to limit my photography solely to the iPhone.
Moment is a company that manufactures photography and video equipment, including lenses specially designed for the iPhone. You have to buy an specially-designed “Made for Moment” camera phone case, which contains threads that surround the 1x and 2x iPhone lenses. These threads allow you to attach a variety of external lenses to the camera phone, allowing you to do very cool things.
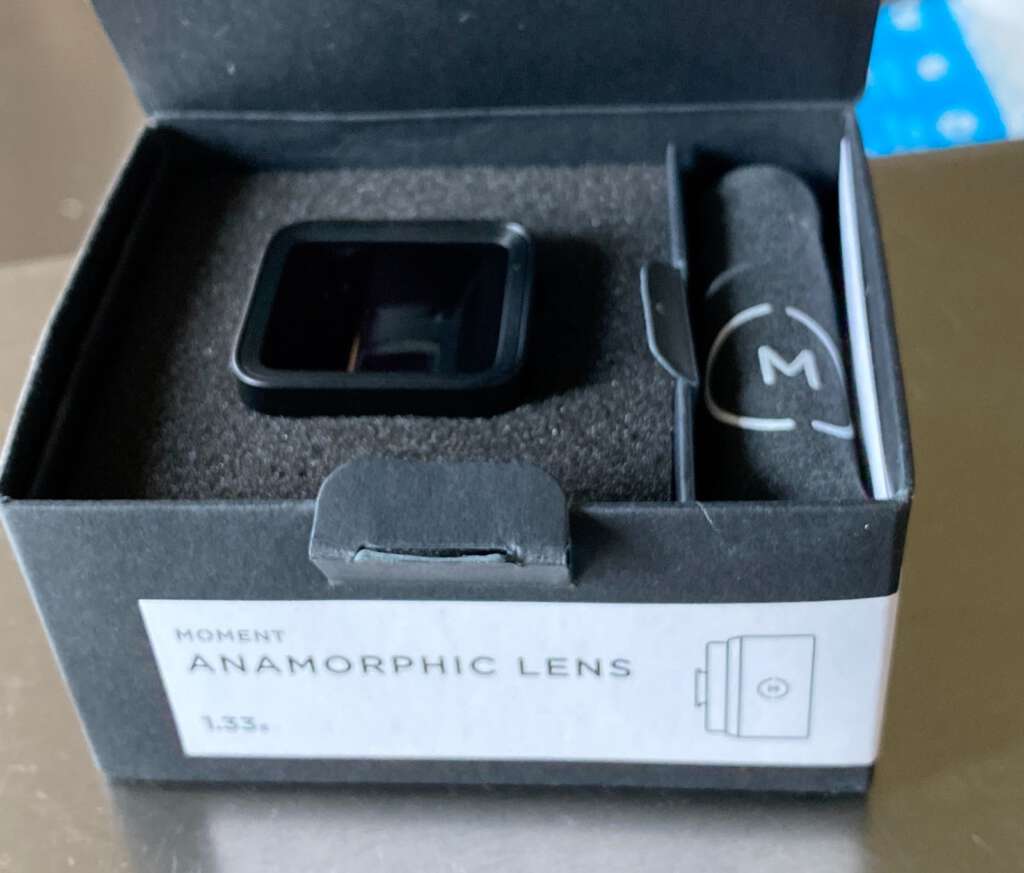

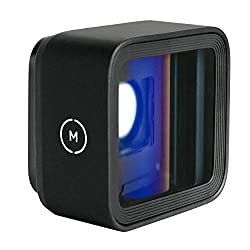
Like all of their lenses, it comes nicely packaged, with a pouch and a lens cap.
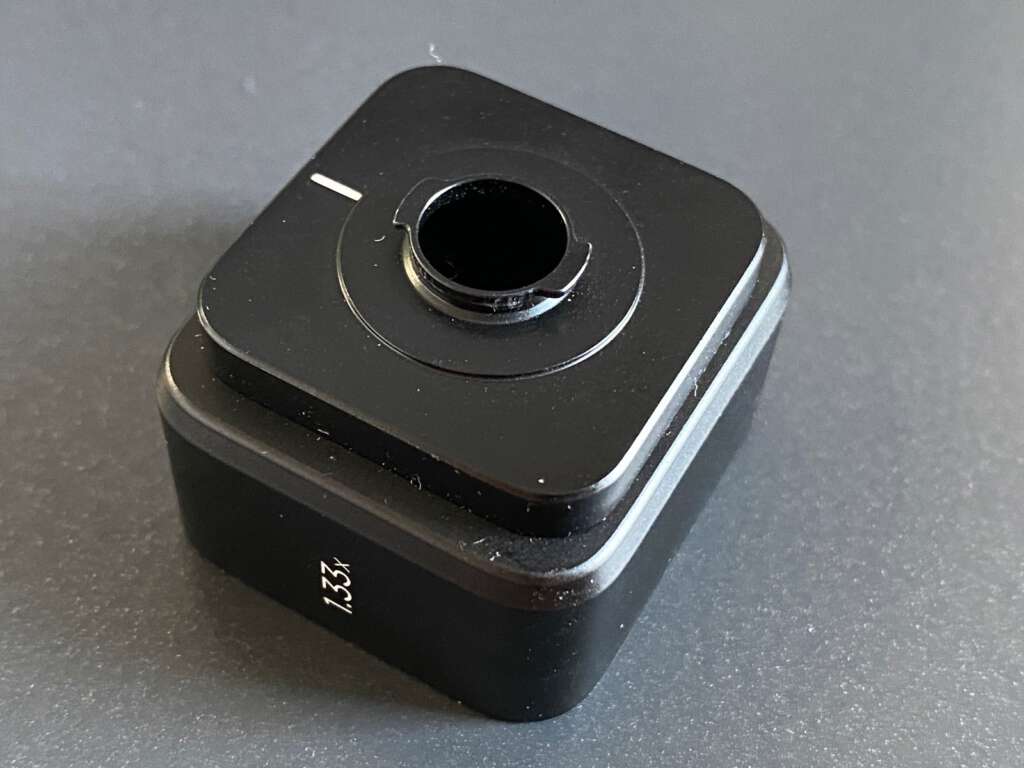
The back of the lens surprised me. Unlike the other Moment lenses, there is no glass inside the hole where the lens screws onto the phone case.
If dust gets inside, there’s nothing you can do about it. I’m going to have to get a rear lens cap, to keep the hole covered.
So, what the hell is an anamorphic lens, and why would I want one?
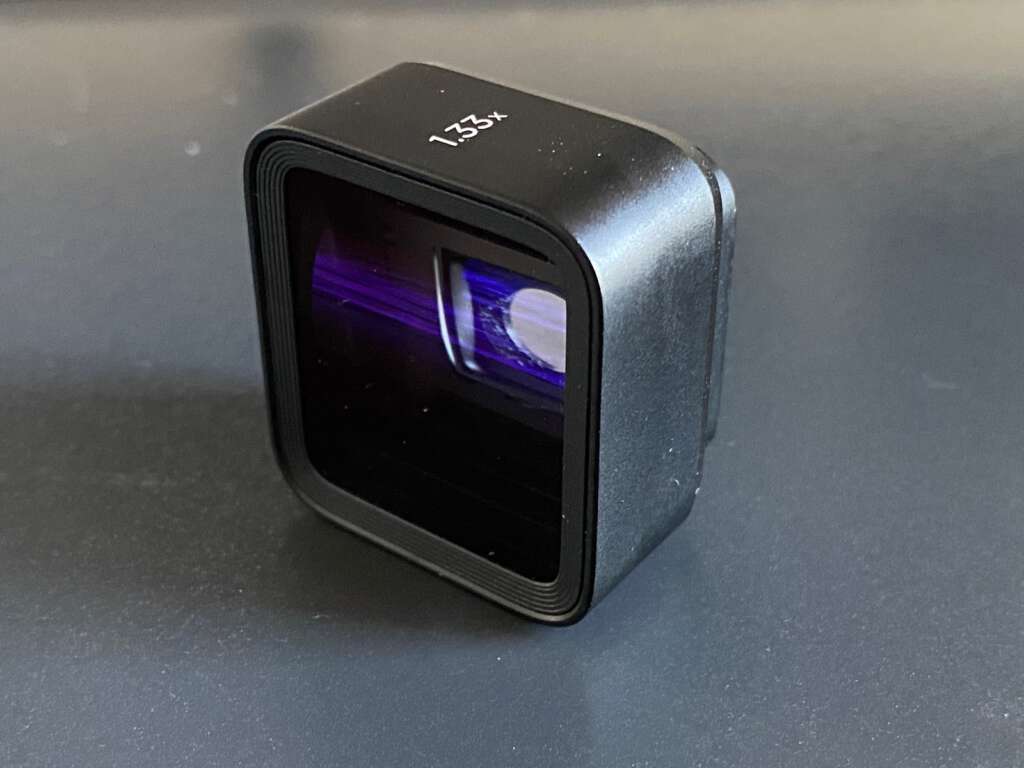
When you take a photo or a video using an anamorphic lens, the lens compresses or “squeezes” the image horizontally by a factor of 1.33. If you want to view the photo or video afterward, you have to “dequeeze” it, so that it looks normal.
Here’s what I mean by “squeezed”:
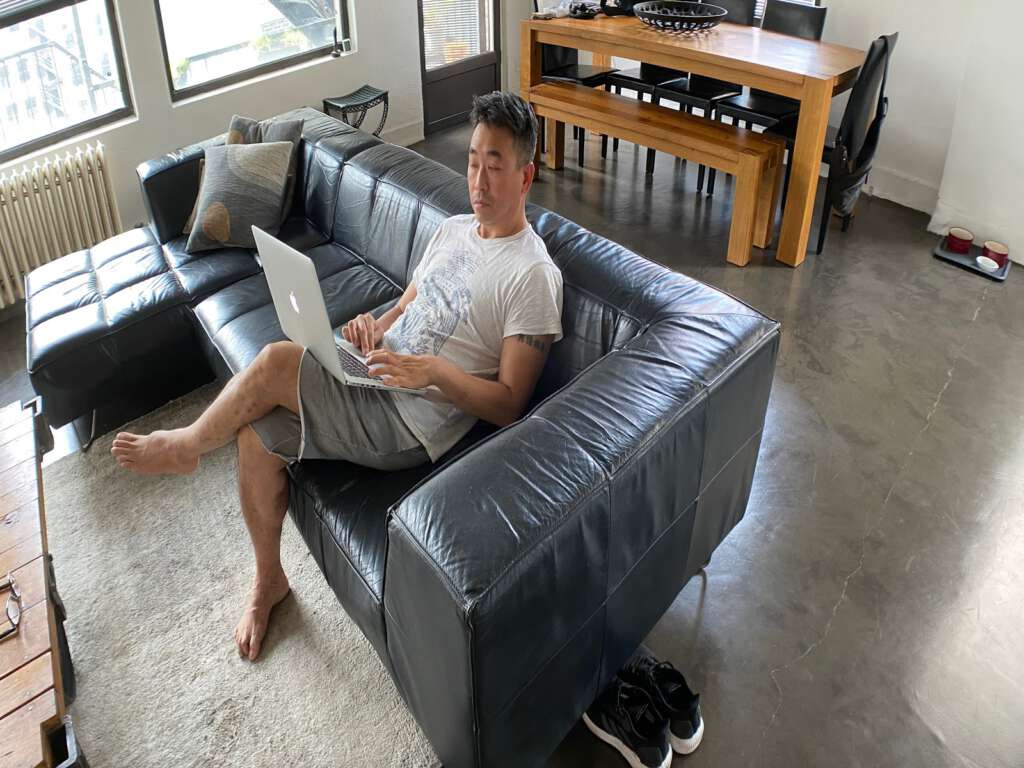
I took a picture of Mark using the anamorphic lens attached to my iPhone, in the native iPhone camera app. See how he’s all horizontally compressed?
You have to “desqueeze it” for it to look normal. Like this:

When you shoot video with the anamorphic lens, and you then desqueeze it, the aspect ratio of the video is 2.35:1. This is what widescreen movies look like in the movie theater. The picture is wide (2.35x wider than it is tall), with those black bars above and below the screen.
Anamorphic lenses are really meant for video. Most people don’t think about using anamorphic lenses for still photography, but I’ve read some articles and watched some videos online about it, and a few folks recommend it, as the photos have a different look. I’ll explain that in a minute.
As I said before, the anamorphic lens squeezes the image horizontally by a factor of 1.33x. When you take a photo on the iPhone, the default aspect ratio is 4:3. If you were to multiply a 4:3 photo by a factor of 1.33x (in other words, if you were to “desqueeze” a 4:3 photo, like you would with an anamorphic photo), the photo would have an aspect ratio pretty close to 16:9.
I took three pictures in my apartment from the exact same vantage point: a regular photo with a 4:3 aspect ratio, a photo with a 16:9 aspect ratio, and an anamorphic photo.
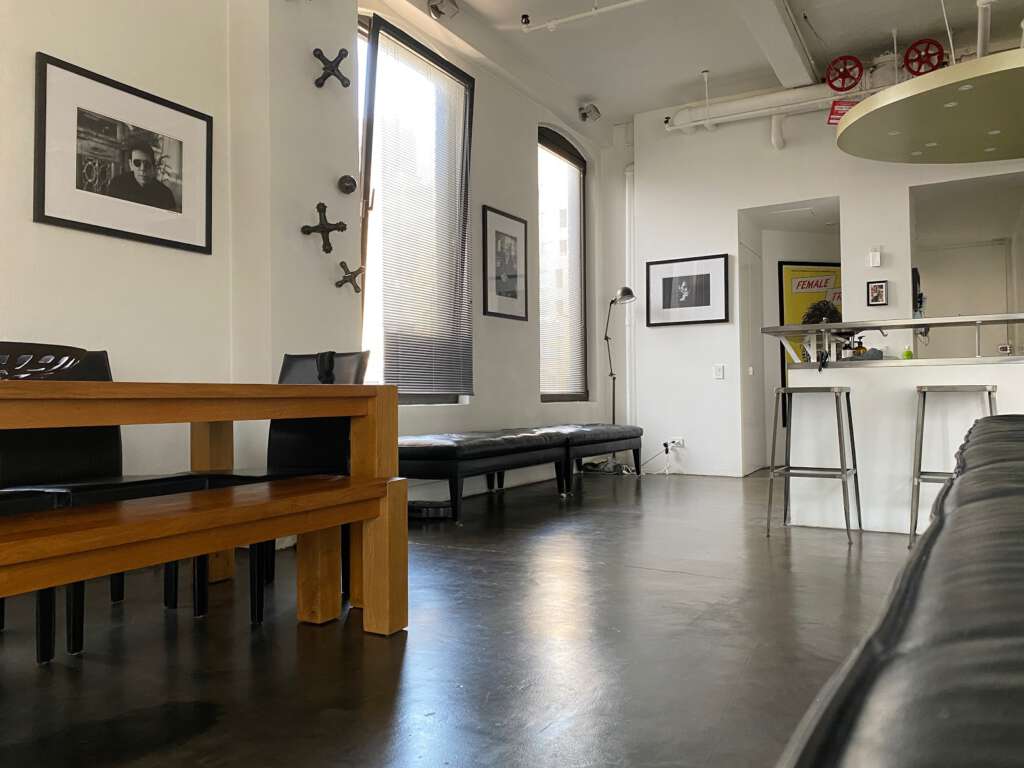
Here’s a regular ol’ photo, taken at the iPhone’s default aspect ratio of 4:3
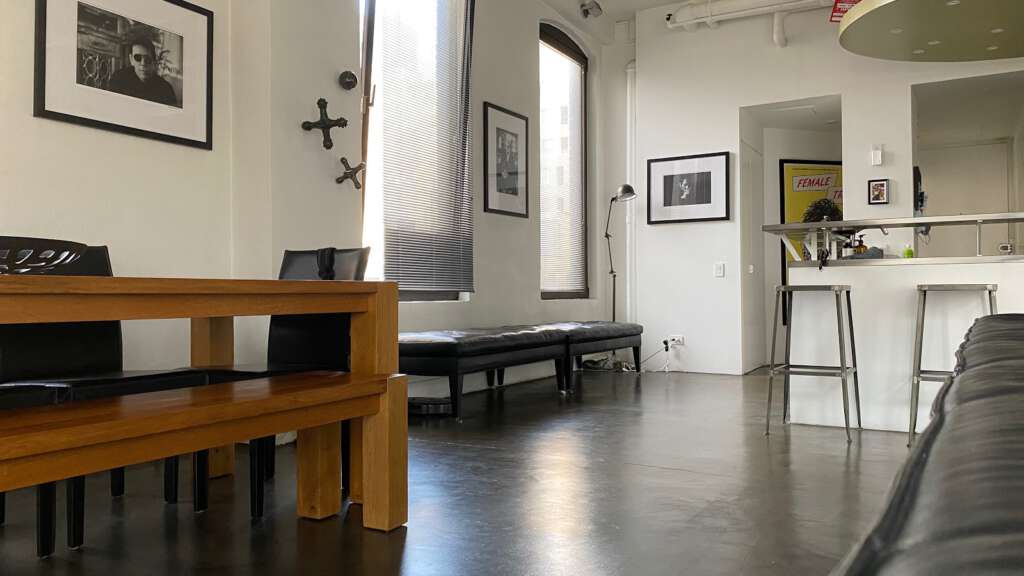
Now here’s the same view, but with the aspect ratio set at 16:9
And finally, here’s the same view, with the anamorphic:
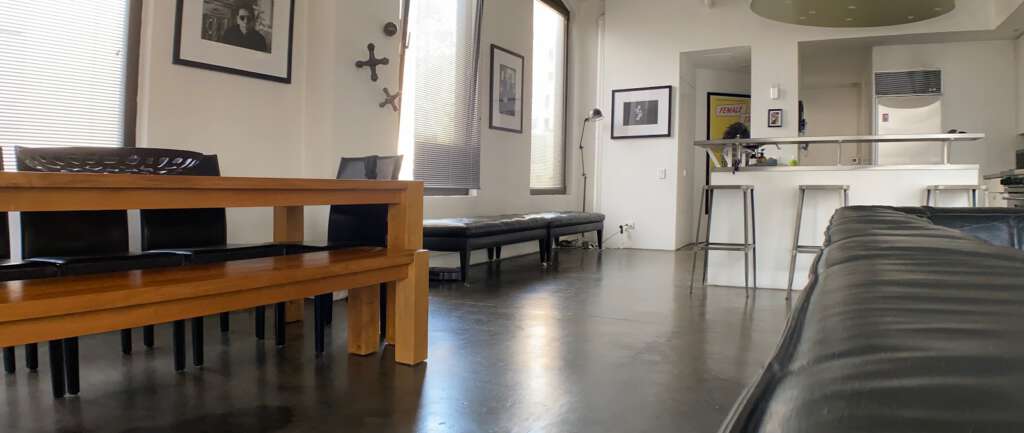
The anamorphic is wider. Notice that you can see two chairs at the table on the left instead of just one. And three bar stools at the kitchen counter instead of two.
So, if you can set the iPhone to take a photo at an aspect ratio of 16:9, why use an anamorphic lens, which also gives you an approximately 16:9 aspect ratio? Well, first of all… you can see above that the last two pics are not equivalent. The ratios are kinda close, but the anamorphic gives a significantly wider view, and the top is cropped. So there’s that. Another reason to use the anamorphic lens is that the lens gives a qualitatively different look, so they say. The technical explanation as to what makes these photos look different (i.e. you’re essentially using a longer focal length, yet you’re capturing the horizontal field of view of a shorter focal length. This gives you more control over the depth of field than you would normally have at that shorter focal length), is beyond my scope of understanding. In other words, I have no idea what I just wrote in those parentheses and what it all means. In the photos above, I don’t consciously see any noticeable difference in the quality. It just looks wider, and not as tall.
The number one difference in the look of anamorphic photos and videos vs. regular photos and videos is the ability to catch those ultracool lens flares. This is why videographers like these lenses. In movies, especially science fiction films, when the headlights of a car or the beams from a spaceship hit the camera, you get these classic blue or purple horizontal flares across the screen. It’s a very cool look. You get that same look using Moment’s anamorphic lens on the iPhone, especially when shooting at night.
I took this short video of a subway car pulling into my train station. See those cool flares when the train headlights hit the lens? That’s what it’s all about, baby.
I hadn’t taken any anamorphic photos at night, with the camera aimed at a light source, to see what the lens flare looks like on a still photo. So… I just now went into the kitchen and took a photo of the overhead light, and I also took a photo of the lamp at my desk. So there you go: the famous lens flares.
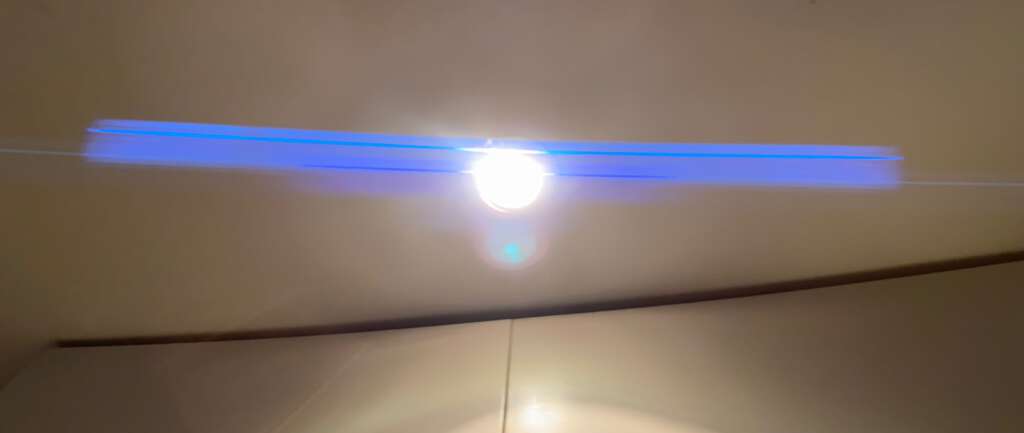
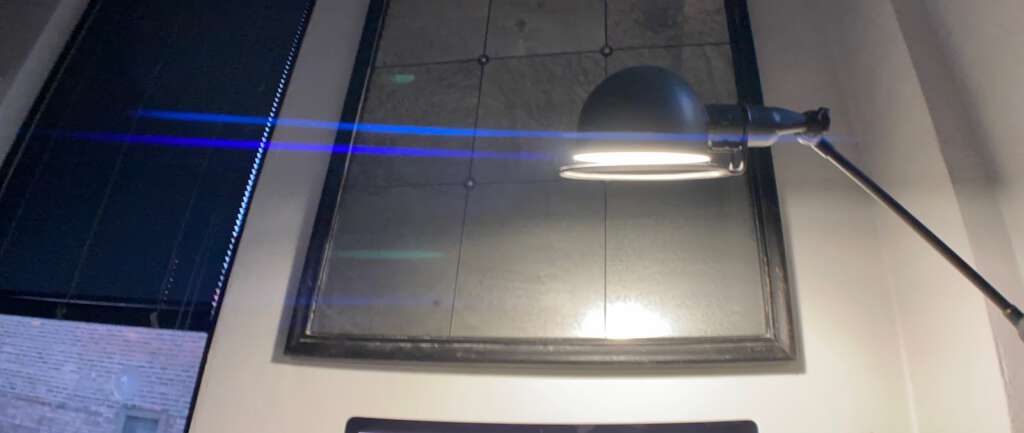
I should have probably gone out and taken some street photos. You know, lamp posts and car headlights, for this blog post. But I didn’t. Sorry!
Anamorphic lenses can also provide some “oval bokeh” to your photos. Bokeh is that gentle, out of focus blur you see in the background of some photos. Small points of light appear as soft little circles. It’s a very pleasing look. Well, when you desqueeze a photo taken on an anamorphic lens, the little blurry background circles become oval shaped instead of circular. This is “oval bokeh”. Do I care much about this stuff? Well, not consciously. But so much of what makes a photo pleasing and compelling to look at is perceived unconsciously, so every little bit helps, as far as I’m concerned.
Moment has their own camera app, which I’ve mentioned in previous posts. Well, one very neat thing about the app is that you can select “anamorphic mode” when you’re using the anamorphic lens, and this automatically desqueezes the image in real time, so you can see what it’s going to look like right away. You don’t have to wait to upload the photo to your computer and then desqueeze it using whatever photo editing app you’re using at home. I’m still pretty new to all of this stuff; I don’t use the big, popular photo editing programs like Photoshop or Lightroom. I don’t have any editing programs that can desqueeze an anamorphic photo, so being able to desqueeze as I’m shooting is exactly what I want.
I confess that I haven’t been in many situations where I suddenly think, oooh, this scenario is perfect for the anamorphic lens (as opposed to the macro and the fisheye, where you know right away that this is the lens that you want.) But I’ve taken a few anamorphic pics. Here’s how they look.

Mark on the subway.
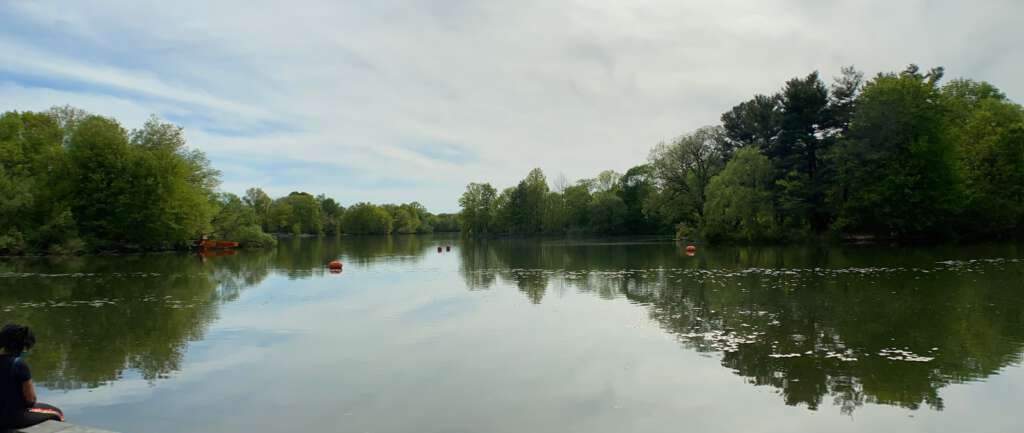
Prospect Park, in Brooklyn.

Another one in Prospect Park.
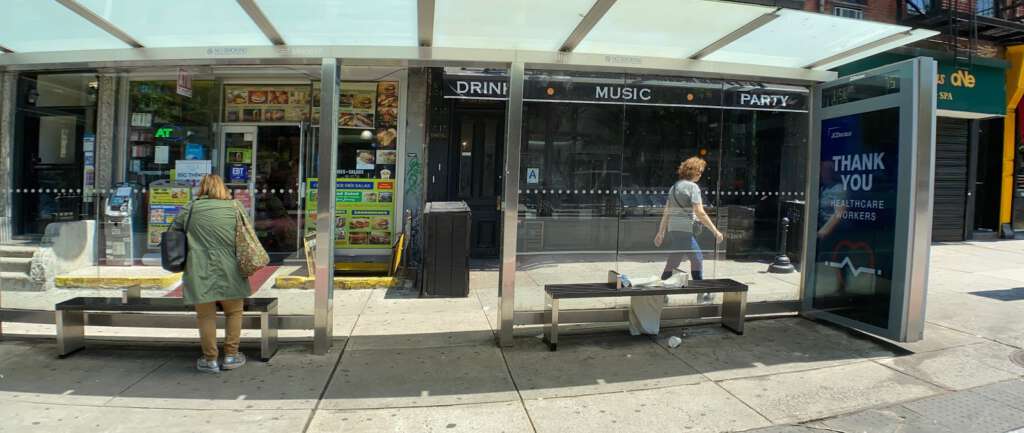
I saw this bus shelter while walking around in the East Village, and I did think hey, the anamorphic lens would be good here, because it would capture the entire length of the shelter. The only reason that it didn’t was because I was standing in the middle of the street trying to get the photo, and a car was coming. I had to hurry, and I couldn’t center the photo quickly enough. But you get the idea. With the anamorphic lens, you sometimes get a little curvature in the image. I think it gives the photo some character.
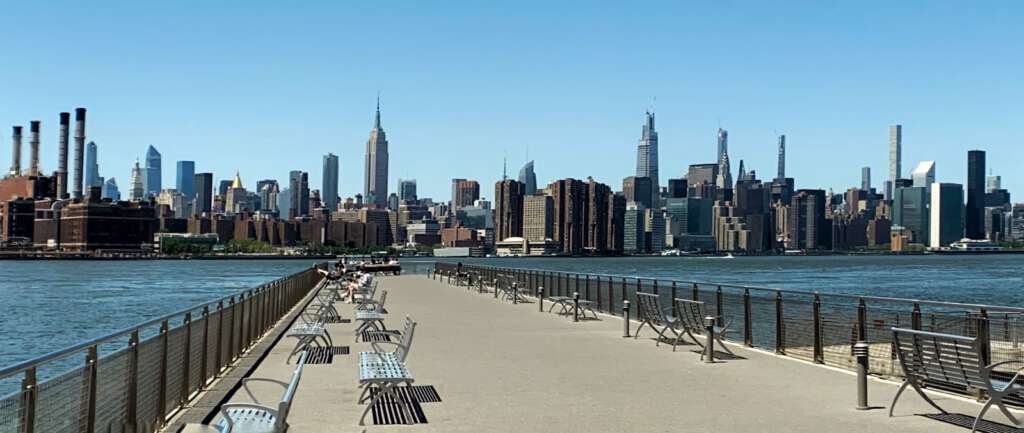
Williamsburg, Brooklyn, looking across the water to Manhattan.
As for videos shot with an anamorphic lens, I think they look great. Here’s a video I took today, during a march honoring the memory of George Floyd here in New York City. It would undoubtedly look better if I had a steadier hand, but given the circumstances today, that wasn’t going to happen.
I also took a bunch of still photos with the anamorphic lens. Here are two from today:


Of the four Moment lenses I own, the anamorphic lens is probably the one I use the least, but I’m sure that is going to change in the weeks ahead. I’m dying to get out there and use it at night, to capture the lens flares and the oval bokeh. And while it’s easy to just pop into the native iPhone camera app and shoot a quick video, I have a feeling that I’ll be using the anamorphic lens more for videos if I know in advance that I’m going to encounter something that I’m going to want to film. So I’m glad I purchased this lens. You can decide for yourself if it’s something you want to have for yourself.