Why I Chose the Ricoh GR III – First Impressions and Review
The Ricoh GR series of cameras has had a cult following among street photographers since the first one was released in 2013. The Ricoh GR II, released in 2015 was a notable improvement and was super-popular and much loved by the street photography community. The Ricoh GR III is the latest version of the camera, released in March of 2019, and this has spurred yet another lovefest and a slew of insanely devotional YouTube videos, all of which I’ve watched. After hearing for the umpteenth time that this was the “best pocket camera ever” and “a street photographer’s dream” and “the king of street photography cameras” and literally “the best camera ever made”, I couldn’t help but conclude that this was the ideal camera for my needs.
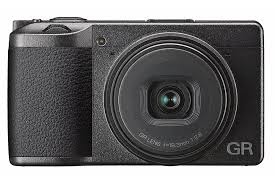
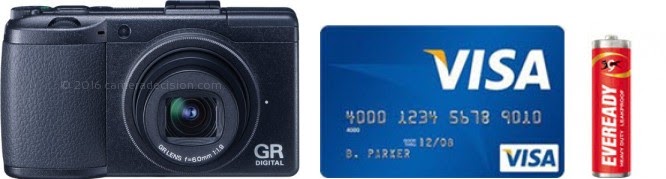
So what’s the appeal? Well, the list of positive attributes is impressive, but first and foremost is the size. It’s pretty darn small, making it very portable. It literally fits in your pants pocket. The same way you always have your phone with you, now you can always have a professional camera with you.
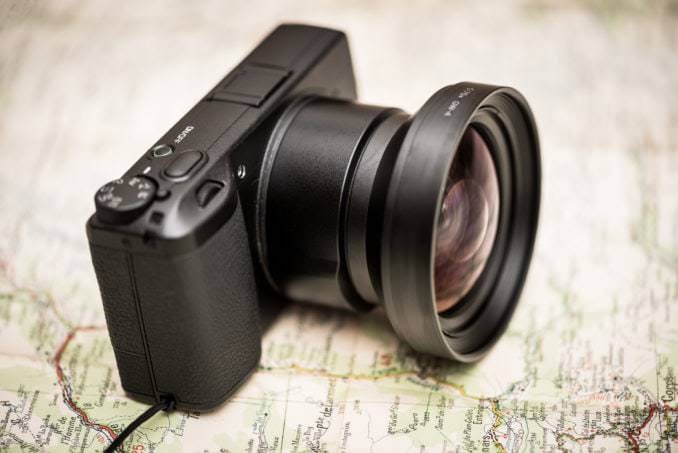
The image sensor is 24 megapixels, which is pretty high. (The Ricoh GR II was 16 megapixels. My iPhone 11 Pro is 12 megapixels, for comparison.) The lens is 28 mm. That’s it. No zoom. You compromise the flexibility of a zoom lens in exchange for the very high image quality. Twenty-eight mm is a bit wide for me. I’m used to shooting with my iPhone. The iPhone’s wide angle lens (1x) is 26 mm, so it’s similar. When I take pictures with my iPhone, I do use the 26 mm lens, but more often, I use the telephoto (2x), which is 52 mm. Some reviewers have said that they feel that 28 mm is a little wider than they like for their particular street photography because the streets where they live are big and empty. But in a place like New York City (where I live) the streets are pretty active and crowded, and you can get closer to your subjects more easily. So, if you want to get closer to your subject, you’re gonna just have to walk closer, and if you want to zoom out, you just have to step back. With the iPhone 11 Pro, you can zoom out with the ultrawide lens (0.5x), which is 13 mm. That lens creates a little curvature and distortion at the edges which can be artistic, and that’s mostly how I use it. You can buy an adapter for the Ricoh GR III that allows you to attach a wider lens, to 21 mm, but it’s expensive and adds a lot of weight to the camera. I don’t think I’ll ever have a need for that and I have no intention of getting it.
There is a crop mode setting, giving you an image that’s equivalent to a 35mm lens, and another setting giving the equivalent of a 50 mm lens. Of course, the resolution drops using these settings (The 35 mm crop setting lowers the resolution to 15 megapixels; the 50mm crop lowers it to 9 megapixels.) Just now, I put the camera up to the window in my apartment, and with the image set in BW Hard mode, I took photos at the regular 28 mm, the 35 mm crop mode, and the 50 mm crop mode. Here they are:
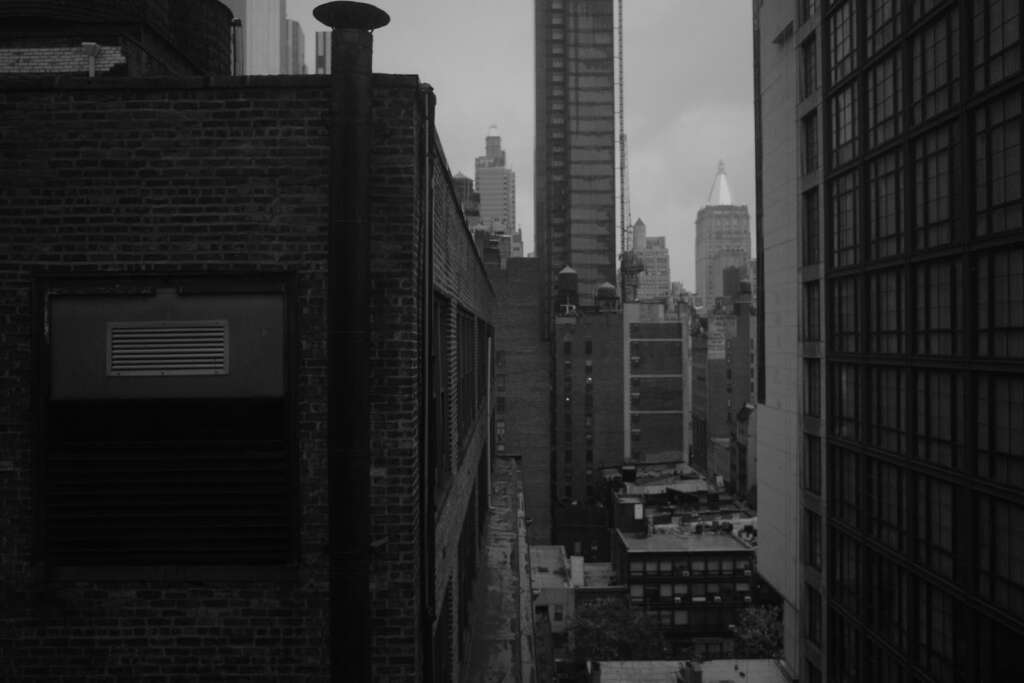
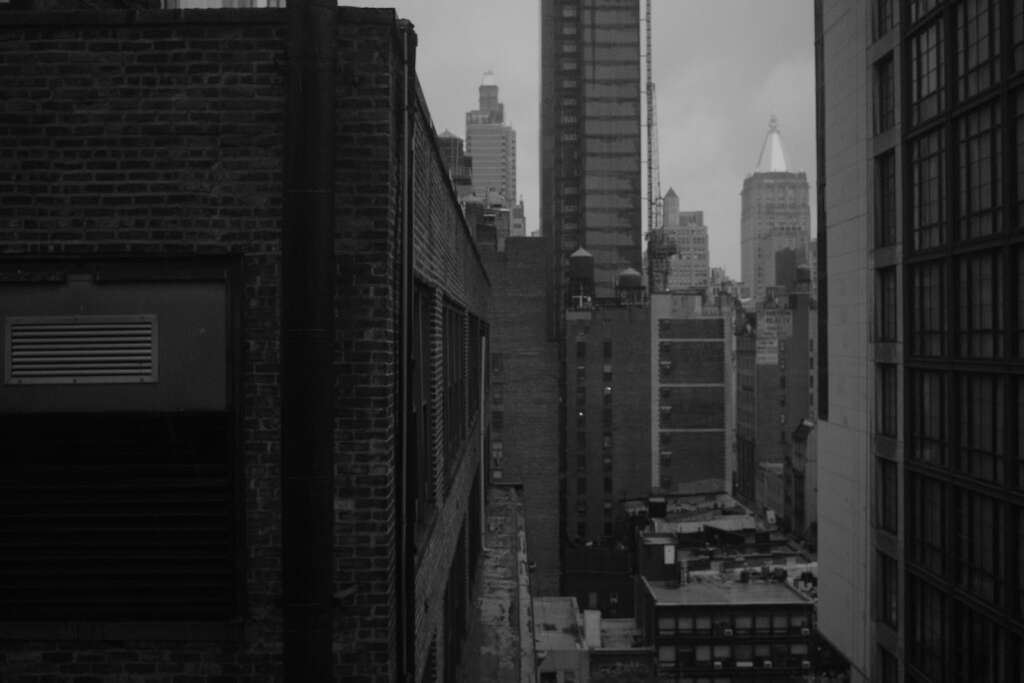
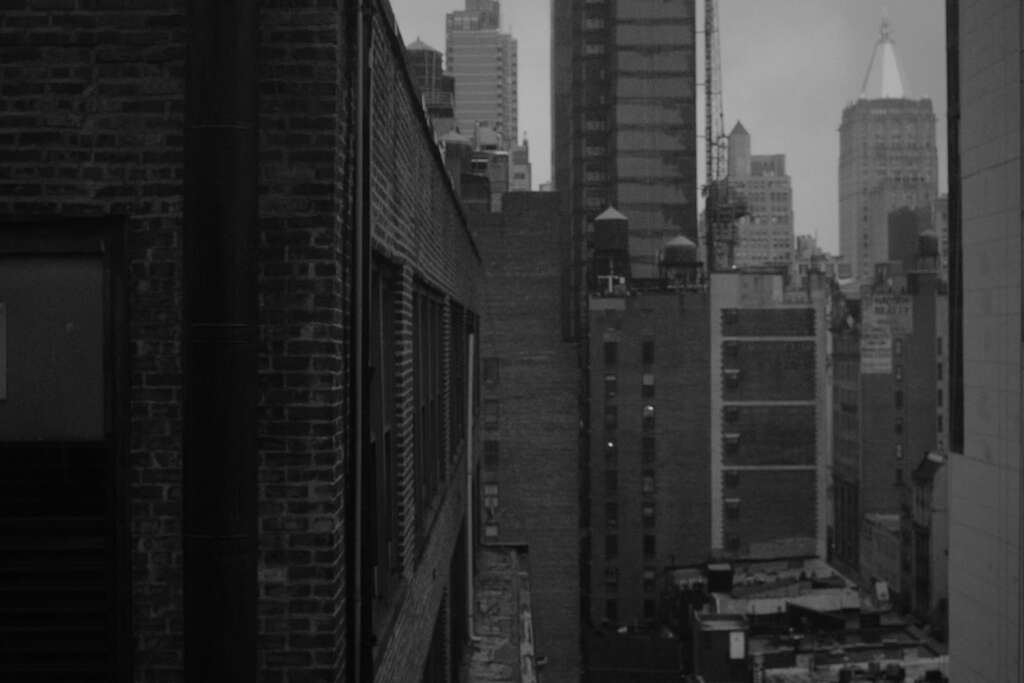
So, for all practical purposes, shooting with the standard 28 mm setting is like shooting with the iPhone’s wide angle (1x) camera, and shooting with the 50 mm crop setting is nearly the same as using the iPhone’s telephoto (2x) camera.
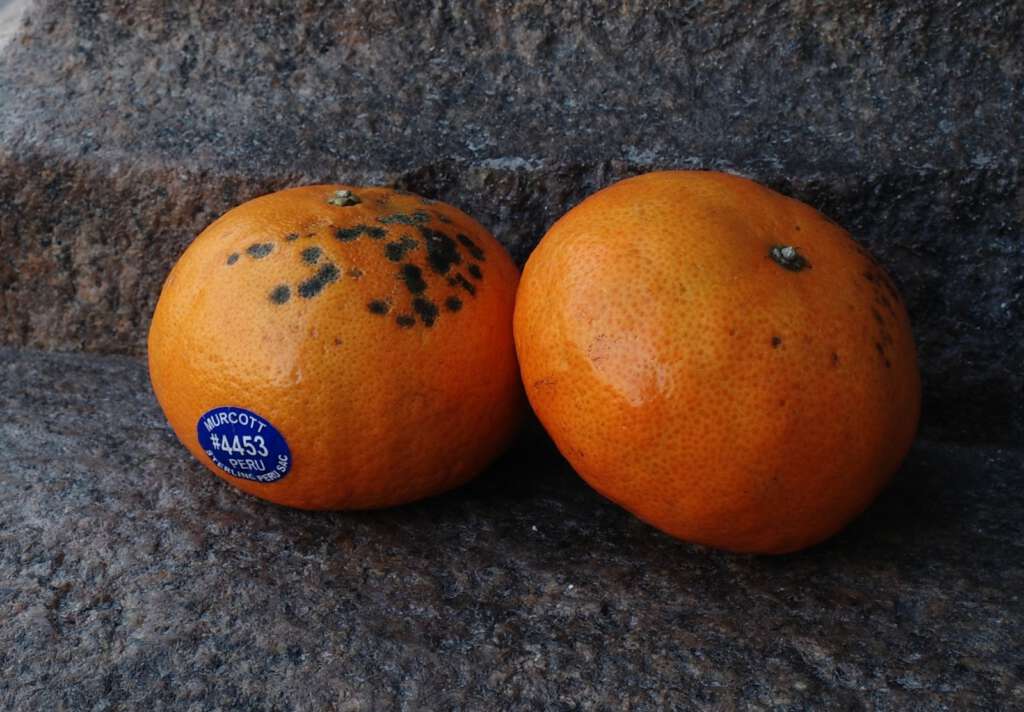
The lens aperture is wide, at f2.8, allowing lots of light in, which lets you shoot very well at night. At f2.8, you’ll get a decent shallow depth of field when you get close to your subject, giving you that coveted background blur. The picture of the two oranges below is straight from the Ricoh camera, no cropping or editing.
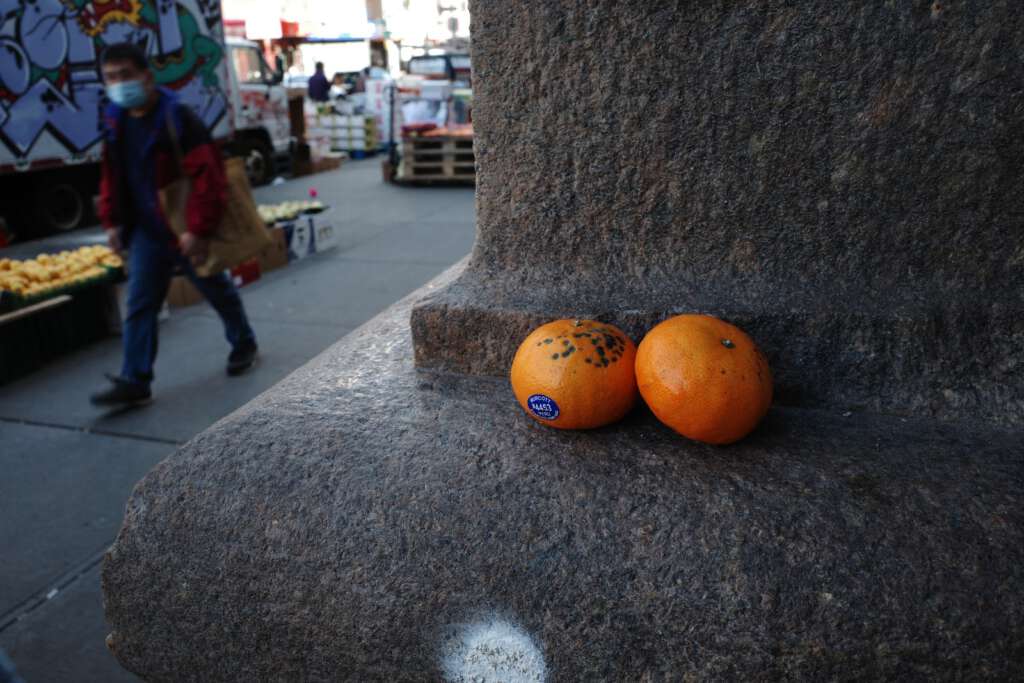
The image quality is really amazing, and you get that nice background blur. Yes, the 28 mm lens is kinda wide, but as we noted, with a 24 megapixel sensor, you can crop if you need to and you’ll still have great image detail, as you can see below.
There are several image settings for color photos:
Std (standard): pictures have normal image quality
Vi (vivid): images have sharp and vivid colors
Posi (positive film): images are highly saturated like those taken with positive film
BB (bleach bypass): images have low saturation and high contrast
Retro (retro): images have that vintage, old photo look
HDR (HDR tone): images look like paintings, with enhanced fine contrast
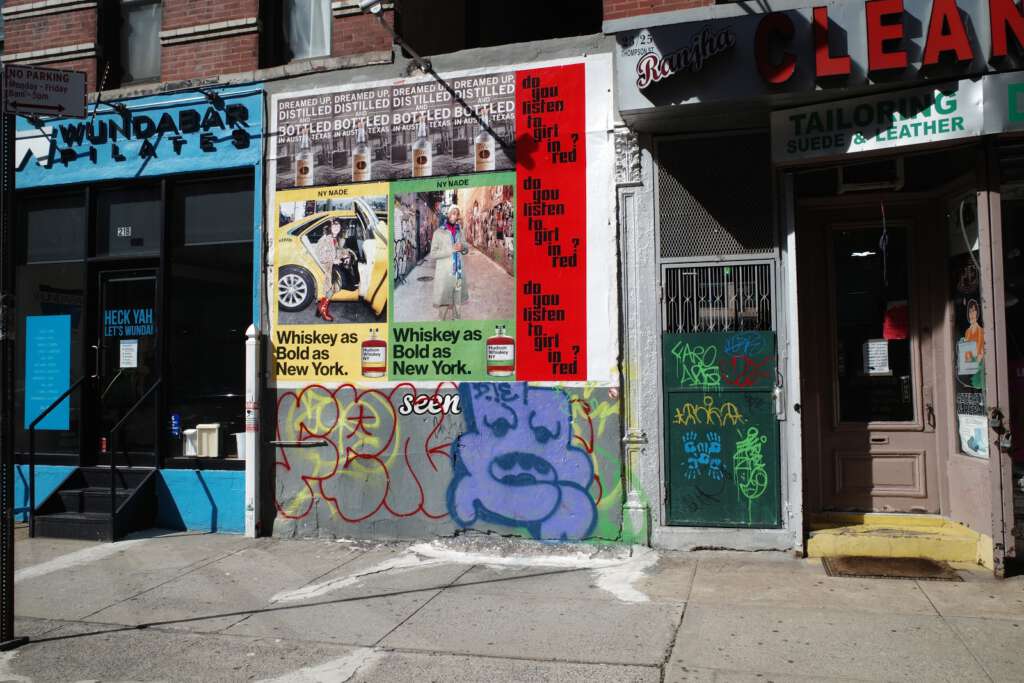
The Ricoh GR III enthusiasts in the YouTube videos I watched all rave about the Posi setting. I didn’t know what ‘positive film’ was, so I looked it up. Positive film is slide film, which has more saturation and contrast than print film. For color photos, I’ve been using the Posi setting. I love the way these oranges came out. Next time, I’ll take the same photo in both settings and compare. I’ll try it in Vi (vivid) setting as well, and see which one appeals to me most. The photo below was taken yesterday in Posi mode. I deliberately chose this scene because it had a diverse range of colors.
Most seasoned professionals compose their pictures well and don’t have to do much cropping. A few of them have said that the wide lens has gotten them to rethink their compositions now that there’s more in the frame, and this has benefitted them as photographers. I’m still at the level where I see something or someone interesting and I whip out the camera and try to get the shot quickly before the moment is gone. Unlike the situation with the two oranges above, most of the time, I’m not taking that much time to actually compose the shot. I have a feeling that is going to change because of the camera’s stellar black and white settings.
I love the timeless, moody look you get with black and white photography. I would guess that about 60% of the photos that I save and edit (the ‘keepers’) end up as black and white photos. They all start out as color photos, though. I convert them to black and white in post-processing. However, I have read that if you like black and white photography, you should actually shoot in black and white. It strips away the distraction of color, and you get a purer form of the image. You’re now dealing with just light and shadow. If you start off with the camera already in black and white mode, it will change both how and what you end up shooting. You end up looking for lines, shapes, patterns, and textures.

And this is where the Ricoh GR III really shines. There are several black and white modes on this camera:
BW (monotone) – takes a black and white image
Soft BW (soft monotone) – takes a black and white image with a softer impression
Hard BW (hard monotone) – black and white with a harder feel to it.
Hi BW (high contrast black and white) – takes high contrast black and white images with a grainy feel to it.
Many of the Ricoh GR III enthusiasts are obsessed with the high contrast setting. I find it a little too harsh, but I’m reluctant to commit to that statement, because I’ve never shot in black and white before; I’ve always converted my color photos to black and white. I only started using the camera two days ago. My initial impression is that photos taken with the BW setting are good, but can sometimes seem relatively plain; those taken with the soft BW setting look a bit pale and washed out; those taken in hard monotone are compelling and interesting; and those taken with the high contrast setting are visually very striking and artistic. Below are pictures of the same wall, taken in BW, soft BW, hard BW, and Hi BW. Compare for yourself.
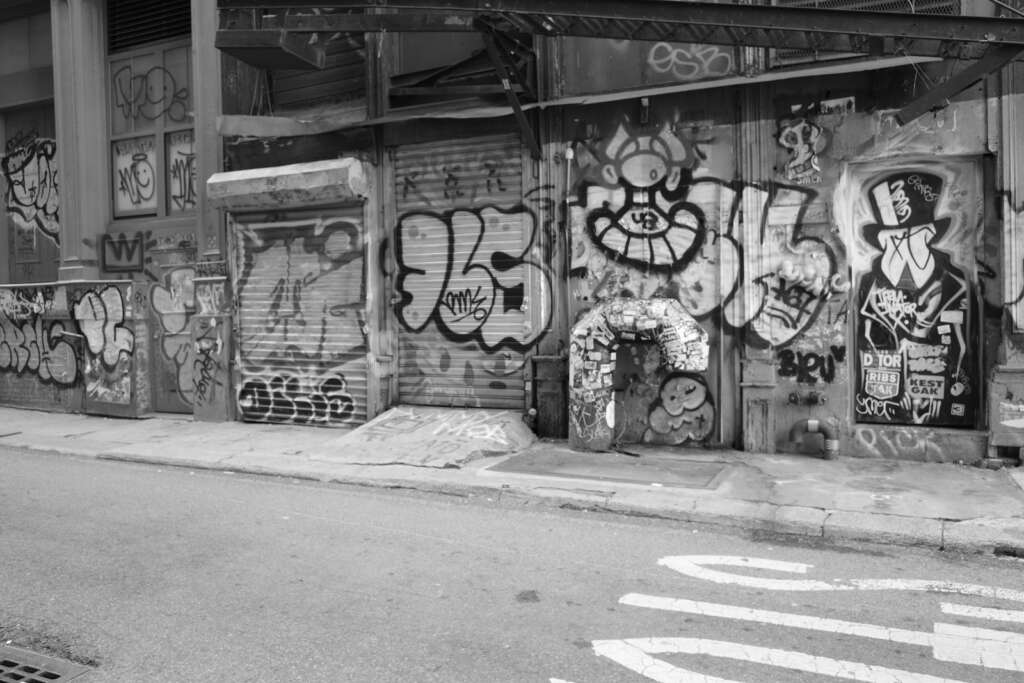
BW setting
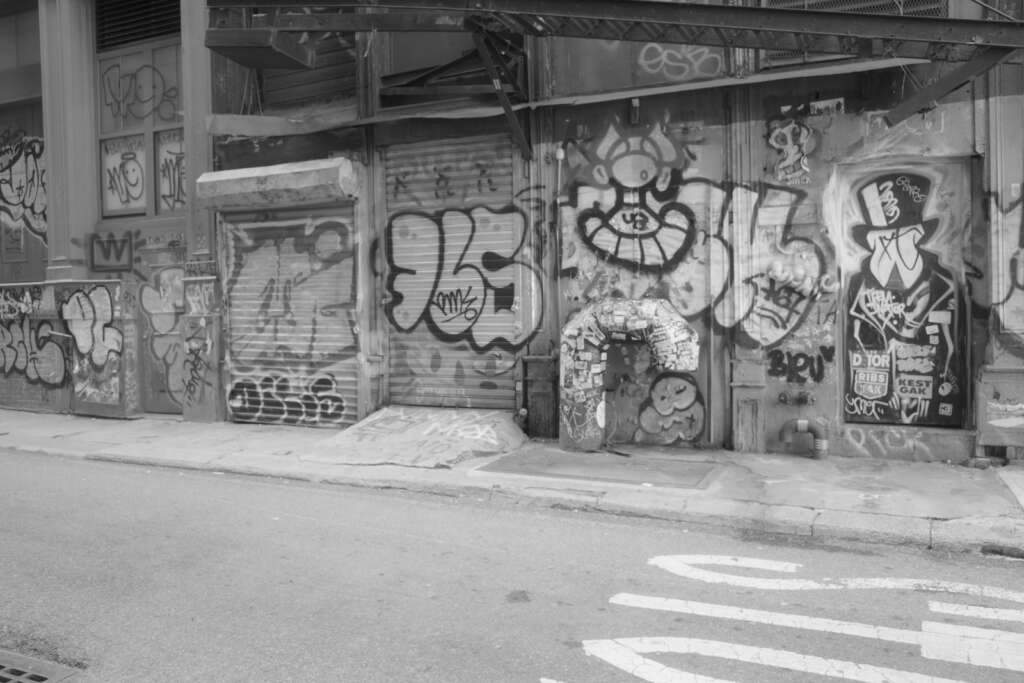
Soft BW setting
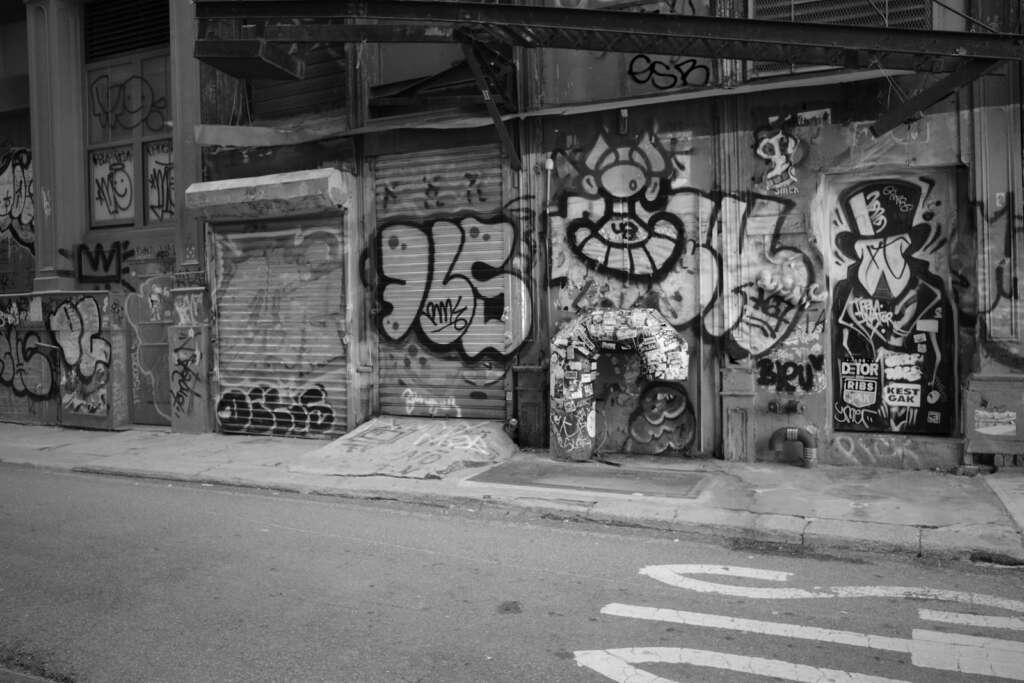
Hard BW setting
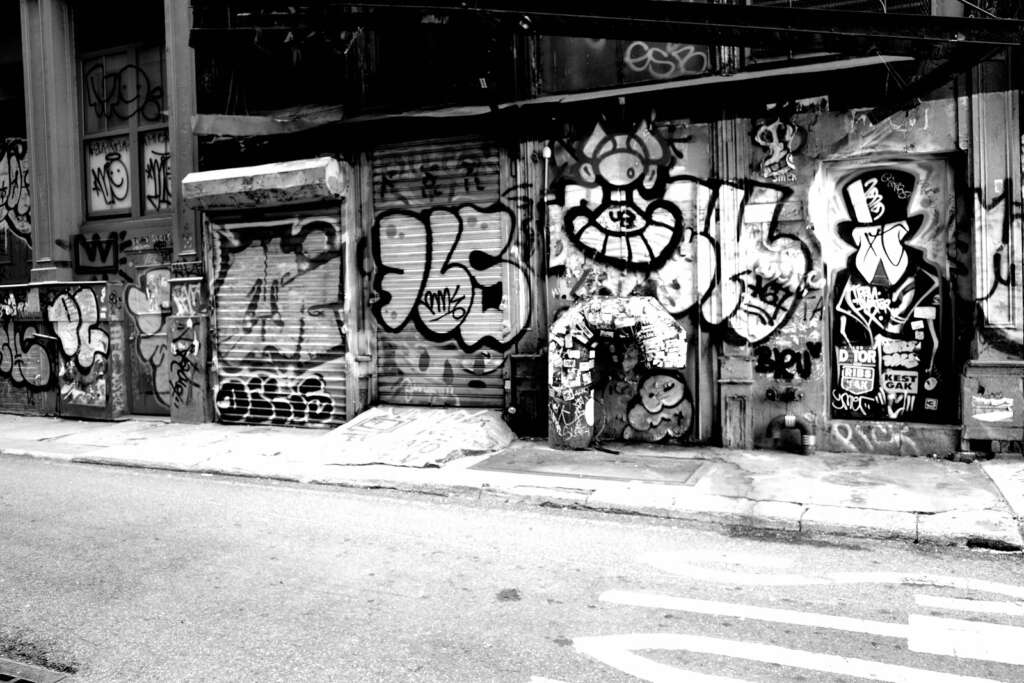
Hi BW setting
This camera has a lot of focus options. I don’t use manual focus. I go with the automatic focus settings. The speed of the autofocus is really fast. I read that the camera focuses in 0.25 seconds. In autofocus, the camera chooses what to focus on, but you can activate the focus point yourself by tapping the touch screen. There’s also a tracking autofocus that tracks moving subjects quickly and accurately. I’m going to have to give these settings a try for myself. There is one focus feature, however, that really makes this camera stand out, and that’s the ‘snap focus’ setting. With this setting, you pre-set a shooting distance, and the camera no longer has to think about focusing. Everything at that distance and beyond will be in focus, allowing you to just press the shutter button once. You don’t have to press halfway to get in focus, and then press all the way to take the shot. With snap focus, boom! You just aim and shoot. You can set the distance to 1.0 m, 1.5 m, 2.0 m, 2.5 m, 5 m, and ∞. I have mine set to 1.5 m. It is rare that I take a photo on the street of a subject that is closer than 1.5 meters. So if my subject (an old lady picking her nose, for example) is five feet away, she and everything behind her will be in focus.
It’s not all beer and skittles with this camera, though. There are a few cons:
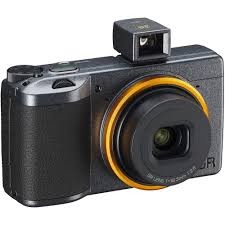
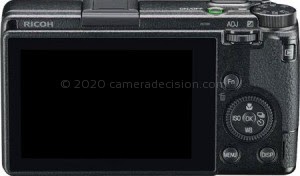
There is no external viewfinder. You can’t hold it up to your eye and compose the shot. You have to compose your shot by looking at the screen. For photographers who are very used to an external viewfinder, I imagine this will take some getting used to. However, an important aspect of street photography is stealth and discretion, and when you bring your camera up to your eye to look through the external viewfinder, it gets noticed. Using the screen, most of the photos I take are shot with the camera around chest level, which isn’t as noticeable. For people who can’t live without an external viewfinder, Ricoh does make one that you can attach to this camera, but it’s pricey. When it’s bright and sunny out, the LCD screen can be a little hard to see, and an external viewfinder would probably come in handy in this situation, but it’s not a big deal. Interestingly, Ricoh makes a (more expensive) special ‘street edition’ of the camera. This version of the camera comes with a viewfinder. It also comes with an orange ring around the lens, which calls attention to the camera – exactly what you don’t want when you’re doing street photography. Interesting marketing gimmick.
There’s also no flash. Most of the street photographers that have reviewed the camera say that this doesn’t bother them at all. I’ve had my iPhone 11 Pro for a year, and I haven’t used the flash once. I keep it permanently turned off. If you want a flash, you have to hook up an external flash. If you can’t live without an internal flash, you can always get the GR II, which is still available and does have a flash.
The camera isn’t weather-sealed, so you have to be cautious about shooting in the rain or under really dusty conditions.
One supposed con is that the video quality is average. I’m not going to comment on that because I haven’t tried it yet. I don’t take many videos, and if I did, I’d probably use my iPhone. No one buys the Ricoh GR III for its video capabilities, however, I should really try it before making any assumptions. (It is full HD video, with up to 60 frames per second, but no 4K resolution.)
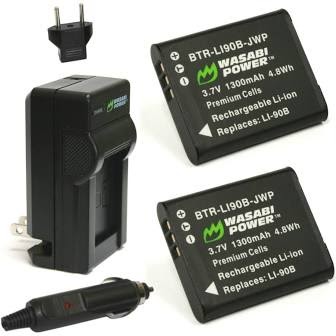
Another con: the battery life is bad. One reviewer said that he was able to take about 170 photos before his battery completely died. On my first day, I got 160, but I was doing a lot of mode switching, testing all the different filters and settings. On the second day, I got 173. So yeah, it looks like the 170 prediction is pretty accurate. The camera does not come with a charger, surprisingly. It just comes with a charging cord. You charge the battery while it’s still in the camera. Of course, you can buy an external charger and extra batteries. While those can be pricey, there’s a company called Wasabi that makes a charger and two batteries for the insanely low price of $15.99. I’m not sure how they can charge so low a price, since one battery by itself (the Ricoh brand battery) is $39.95. Some reviews say that these Wasabi batteries last as long as the Ricoh brand battery. Other reviewers say that they last a little shorter. I’ll test it out and see, of course. But given that 170 photos isn’t all that much, and that it takes about two hours to recharge the battery in the camera, I’ll need to have one or two extra batteries with me when I go out shooting.
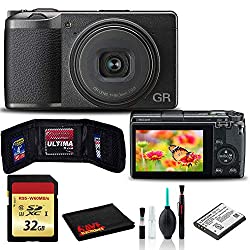
Finally, some people think the price is a downer. The camera is about $900, which some folks feel is a lot for a camera with no viewfinder or flash. I’ve seen it on Amazon for as low as $869, but it’s usually $895. I’ve seen it bundled with a cleaning kit, tripod, camera case and 32 GB memory card, all still at the same $895 price. I bought mine at B&H Photo for $895 and it came with a case and a memory card. I applied for their Payboo card, a store credit card that refunds the sales tax, saving me about $80. Camera prices are subjective and relative. You have to decide for yourself if you think that’s too expensive or not.
Other things I like about the Ricoh:
The touchscreen is sensitive and responds accurately. It’s very easy to use. In bright sunlight it’s a little hard to see the LCD screen, but there are settings in the menu that improve the display in bright light conditions.
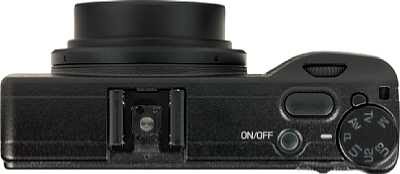
The camera opens very fast. You turn it on, and boom. In 0.8 seconds, it’s open and ready.
The camera has image stabilization (shake reduction). This allows you to use slightly longer shutter speeds, even in low-light conditions, and not get any significant blur when holding the camera.
There’s a built-in ND filter, for shooting on bright, sunny days. I had the filter set to “auto”. The past two days have been very sunny.
It has built-in WiFi. You can transfer images from the camera to your smartphone wirelessly.
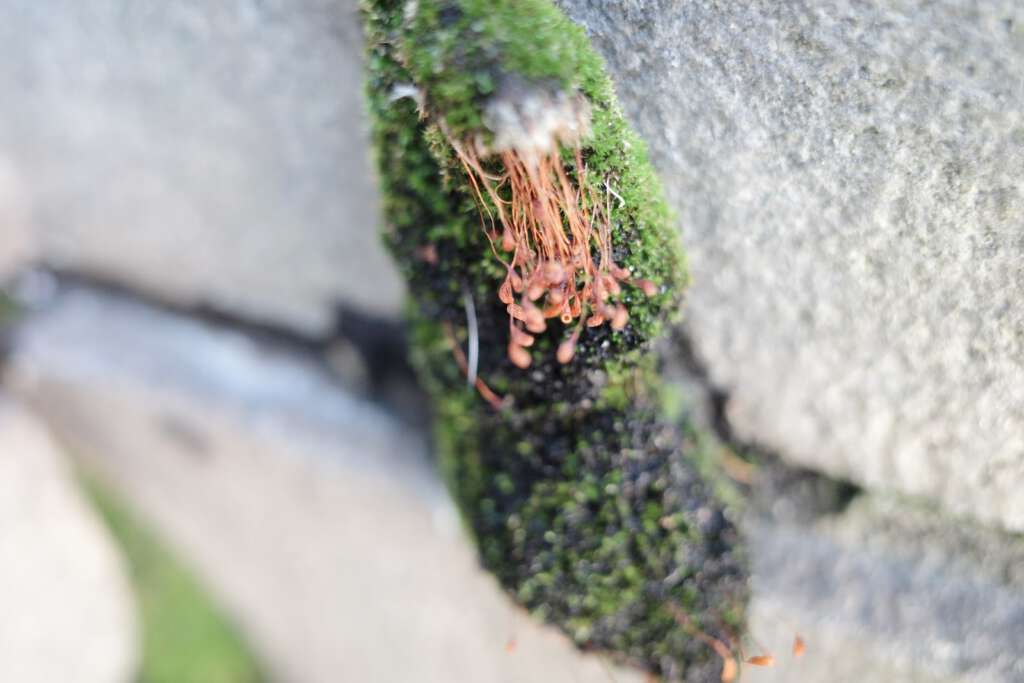
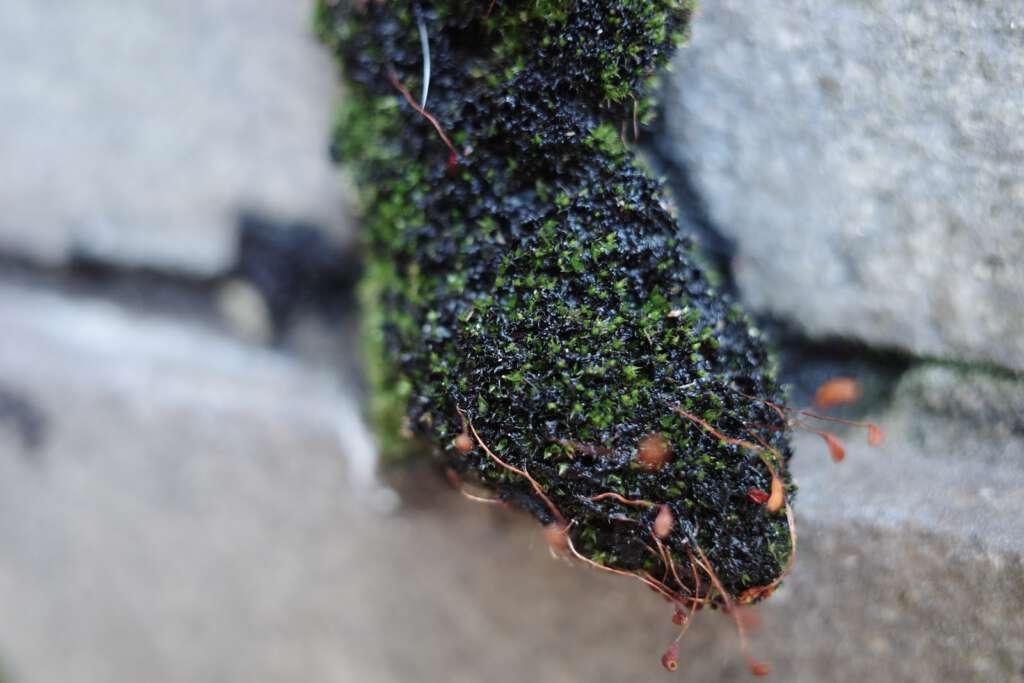
It has a very good macro mode, letting you get two or three inches from your subject. I gave it a try on a clump of moss. It has a narrow area of focus, but still, it gives pretty decent images.
The common theme in all of the videos and articles I’ve read about this camera is that the size and portability has not only changed the way photographers approach street photography, but how they think about photography in general. Having to decide which camera to bring, which lenses to bring, and then lugging it all with you can turn photography into a chore, dampening their enthusiasm. Many photographers, in their review of this camera, agree that this camera makes taking photos fun again. The ease of use and the quality of the images has reconnected them to why they chose to pursue photography in the first place.
There’s a cliche about the best camera is the one that you have with you. The portability of the Ricoh GR III ensures that you’ll always have it with you. For a beginner like me, the only way to improve is to take as many photos as I can. Proficiency comes from practice, and this camera makes practicing easy and fun.
The Ricoh GR III is not a camera for everyone. If you’re a wedding photographer or a landscape photographer, or if you’re really into taking portraits, there are more appropriate cameras out there. For a street photographer, however, you’d be hard pressed to find a better camera.