
Camera-Phone Photography – Moment’s Macro Lens: Unboxing and Review
When I decided to step up my iPhone photography game by purchasing Moment lenses, I was drawn to a deal that was offered on their website – their two-lens starter kit. I knew I wanted the fisheye lens. I didn’t think I needed the ultra wide lens, since the iPhone 11 Pro already has an ultra wide lens (I’m reconsidering that choice; more on that in another post). The anamorphic lens is mainly for video, and I’m not a big videographer. (I did end up getting that lens a few days ago; more on that, too, in another post.) The choice was between the macro lens and the telephoto lens. I chose the macro.
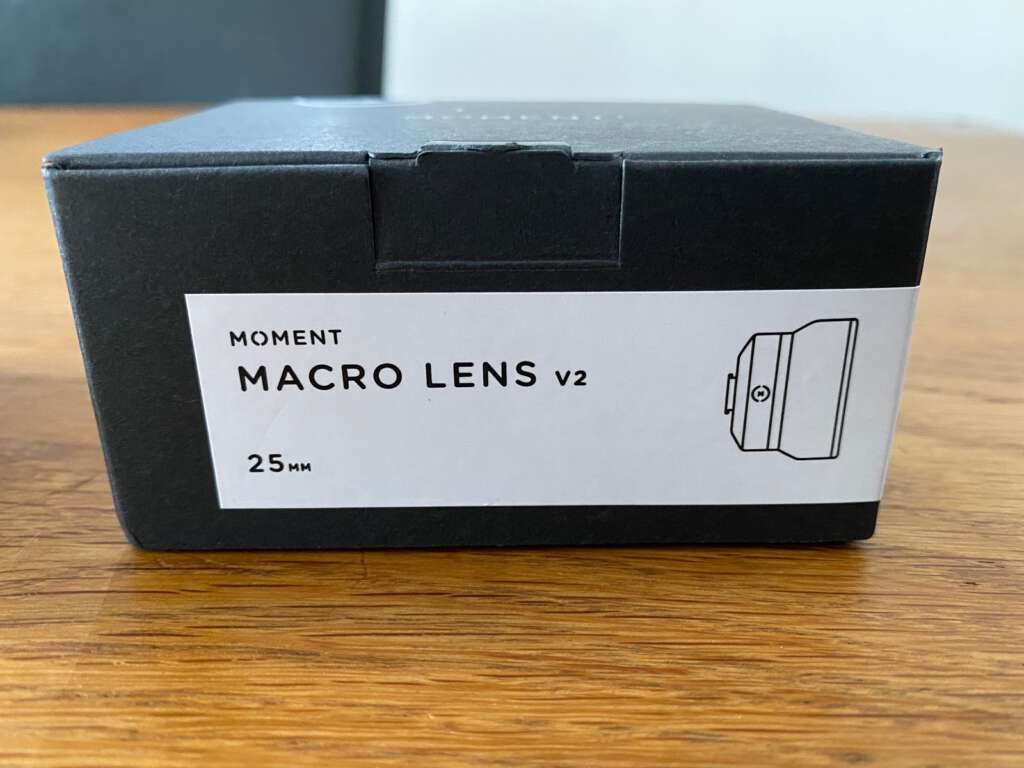
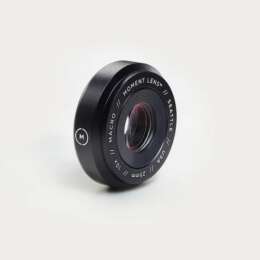
Let’s unbox the lens.
Like all Moment lenses, the macro lens is beautiful. It’s made of high quality metal and glass and has a nice feel in your hands.
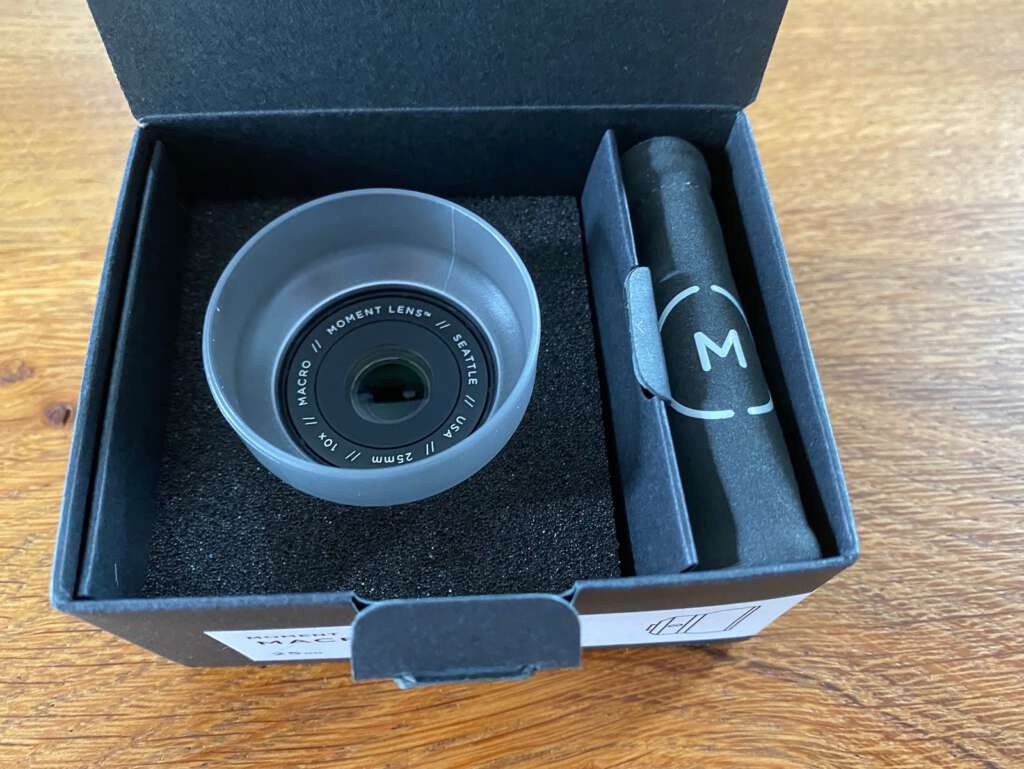
Included in the box is a front lens cap and a little pouch. Their pouches can also be used as a lens cloth.
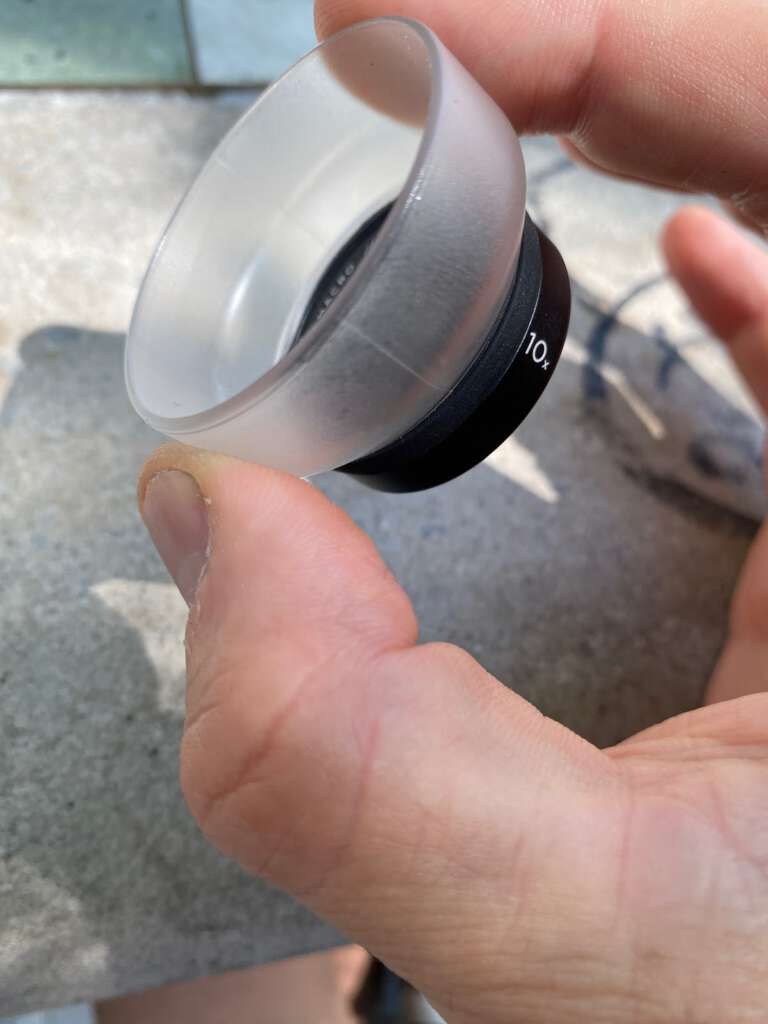
Also included is the thing that sold me on this lens: a cone that fits onto the lens.
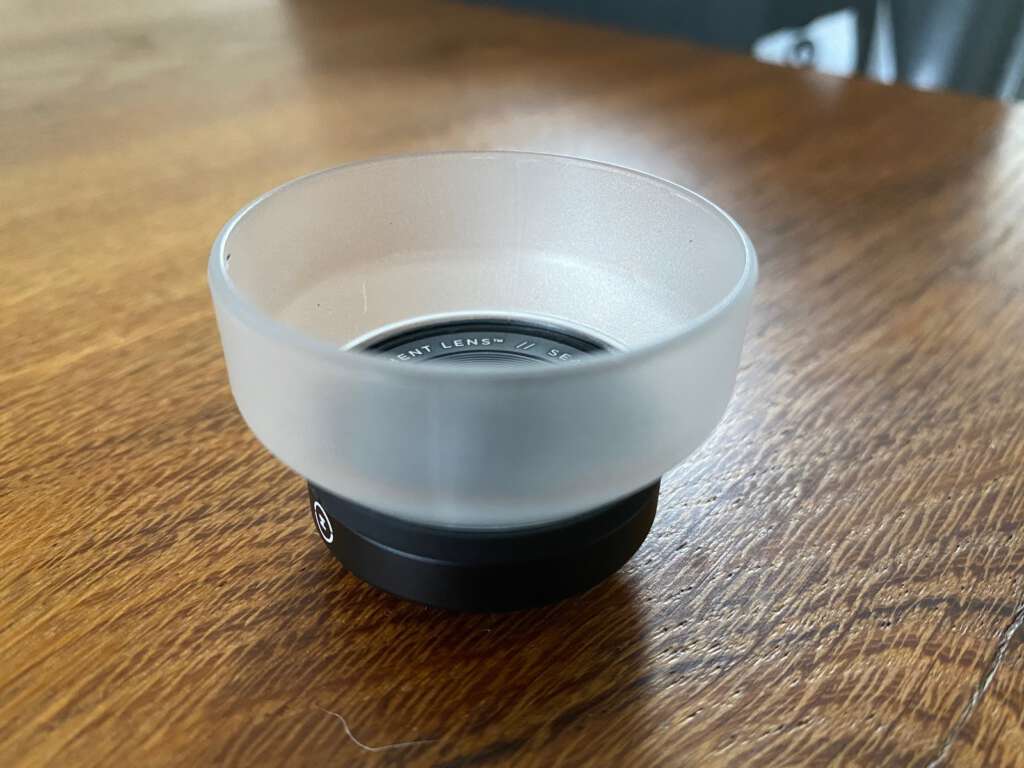
When you put the cone on the lens, you now have a measure of the ideal distance for perfect focus. When the edge of the cone touches the subject you’re photographing, it will be in focus. Also, when I use the cone, it creates a diffuse light around the object I’m photographing, which makes it look nicer, I think. Good lighting is really important in macro photography.
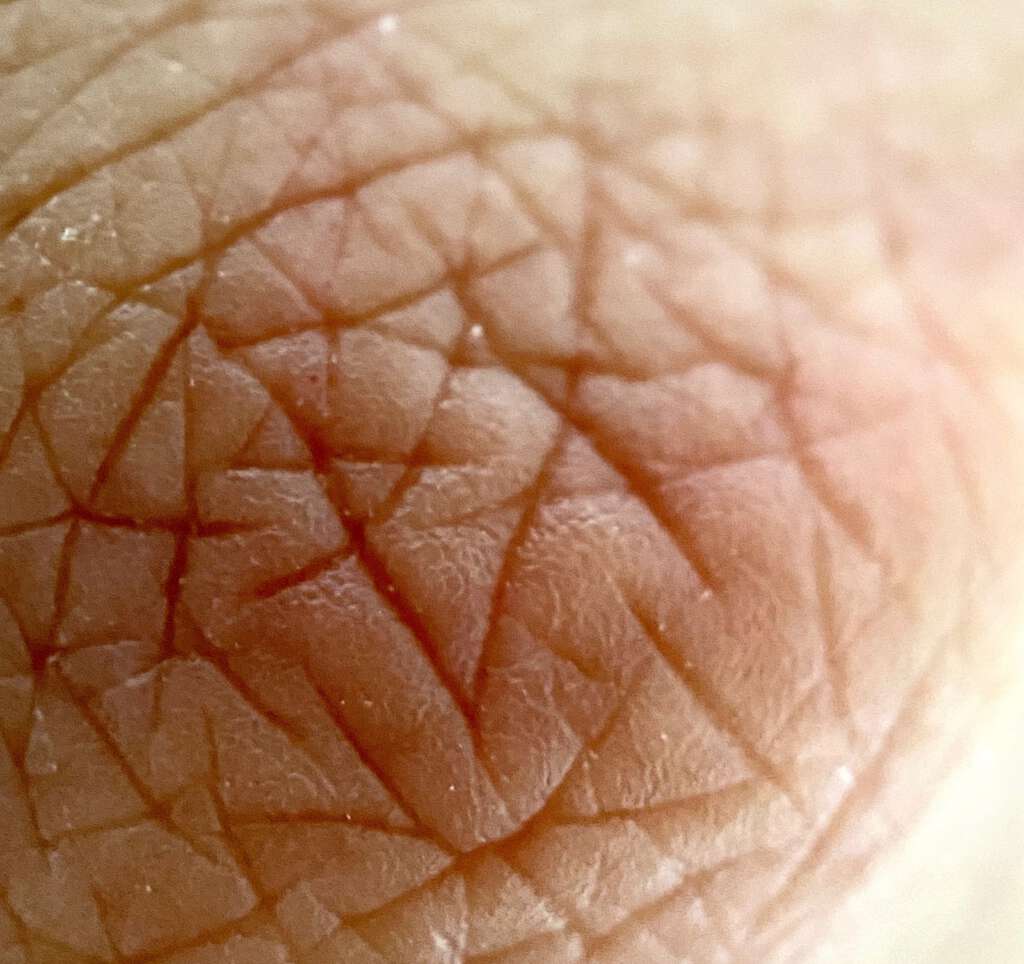
I attached the macro lens to the iPhone case and took a few practice shots. First I photographed my knuckle.
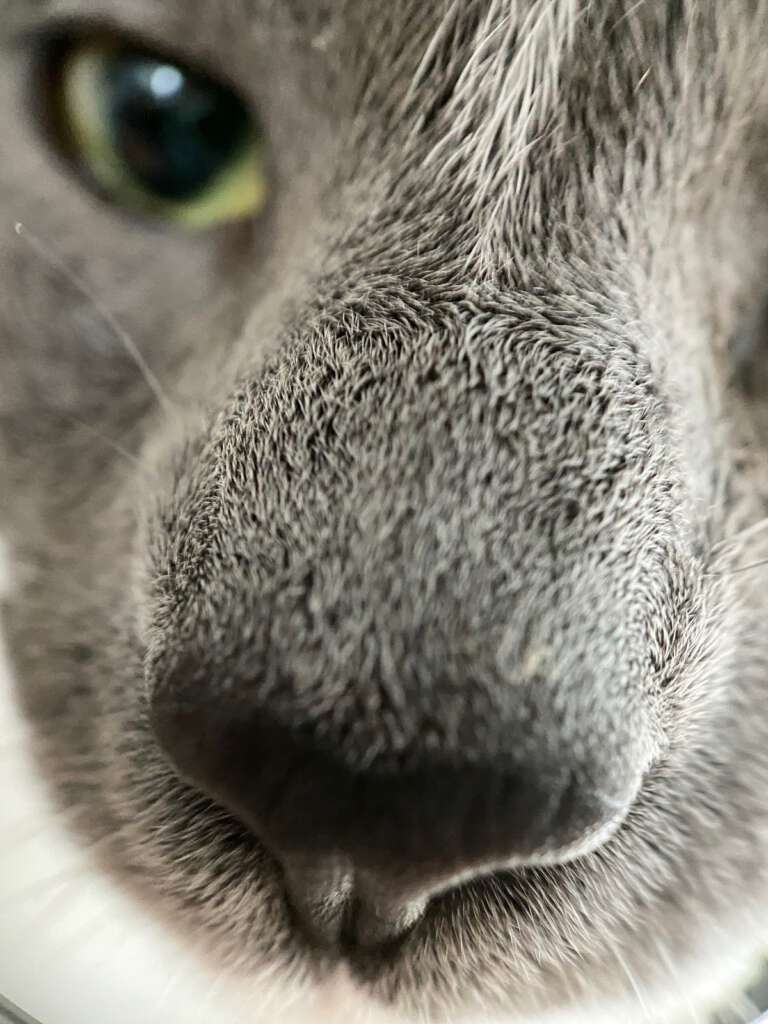
I tried to get a photo of my cat’s eye, but she wouldn’t stay still, so I ended up photographing her nose instead. I couldn’t focus as perfectly as I wanted, because she wouldn’t stay still.
I put the cone over the little pouch that came with the lens. You can see how perfectly focused it is, and you really see the details of the texture of the cloth.
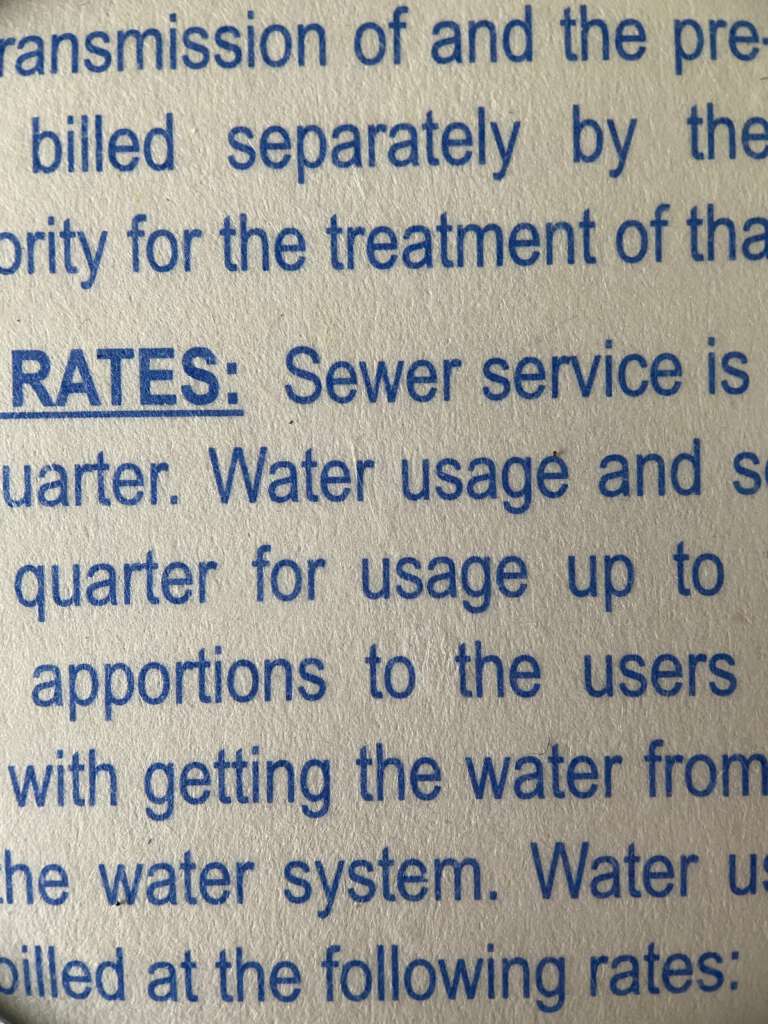
I don’t imagine that I’ll be taking many massive closeups of printed material, but if I wanted to, I could.
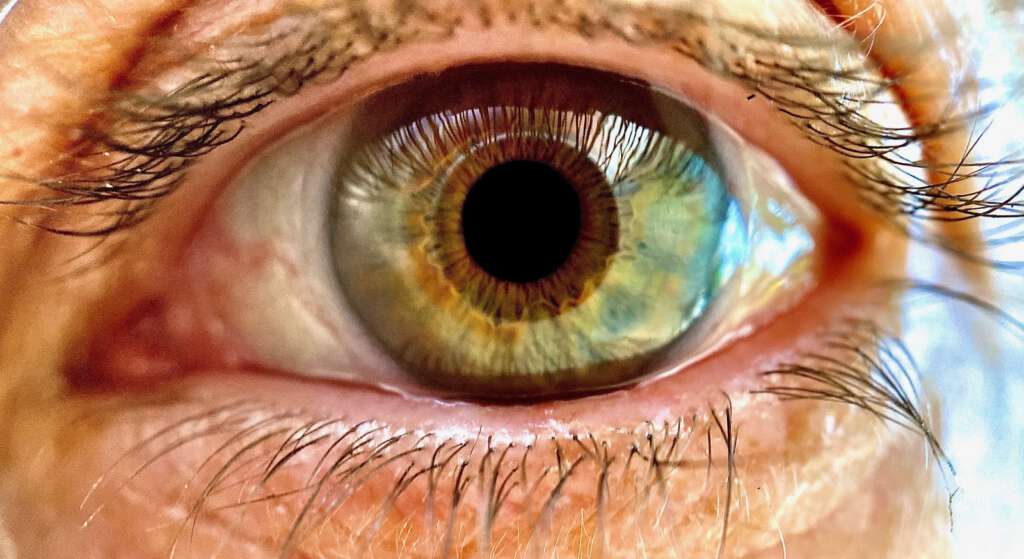
Rather than try to photograph my uncooperative cat’s eye, I put the cone over my own eye.
Voila!
Okay, time to try this lens out in the real world.
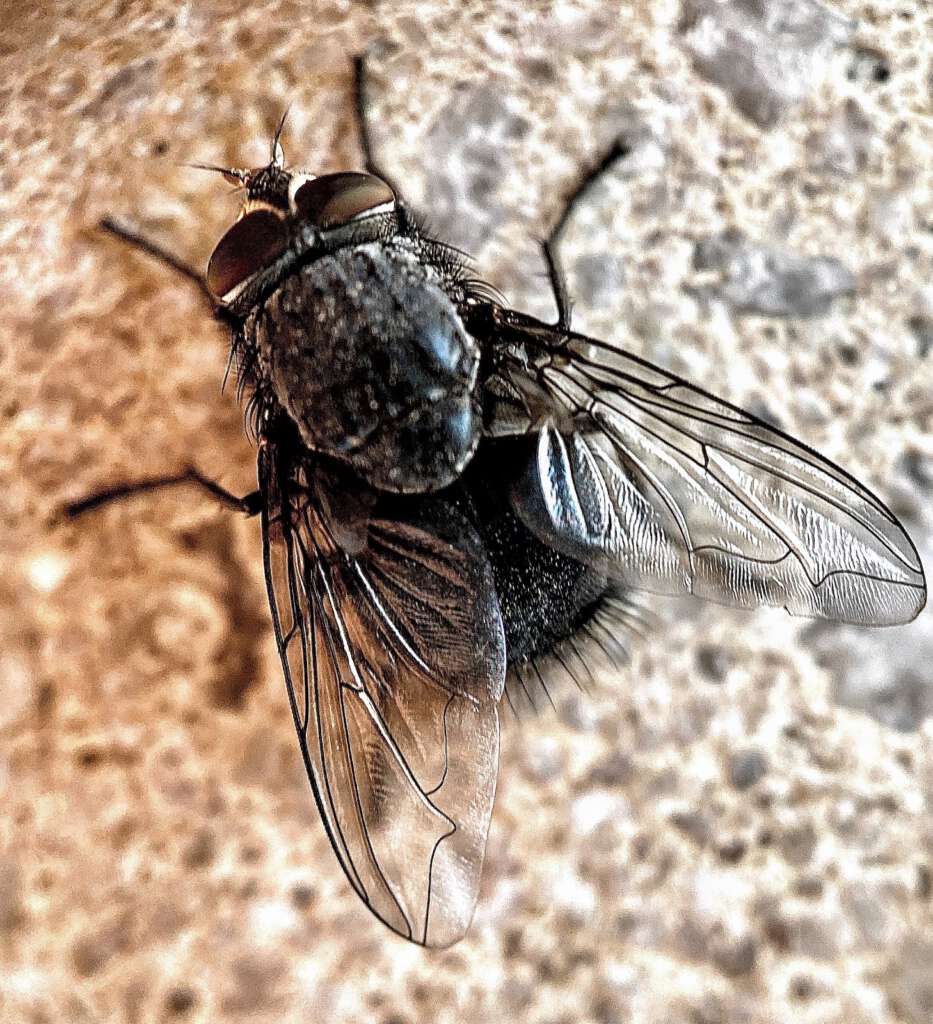
The other day, I was walking around taking photos here in New York City, in the Soho neighborhood. Across the street from one of my favorite restaurants (Bistro Les Amis) is a small park, with benches and a few concrete tables. I decided to take a break at one of these tables. A fly kept landing on the table. It was a big fly, and it was kinda slow, so I quickly took out the macro lens, attached the cone, and attempted to trap the fly beneath the cone.
Easy peasy.
I then carefully attached the iPhone to the lens, making sure not to accidentally release the fly. The fly was moving around a lot, so I took a bunch of photos blindly, and then checked the camera roll afterward. Bingo! I got the photo I was after. Check out the little waves in the clear part of the wing. Such detail!
Now, let me give you some very cool and useful information:
When you use the iPhone’s native camera app, the macro lens has to be attached to the top lens, i.e. the 1x lens.

If you attach the lens to the bottom lens (the 2x lens), and you select the 2x lens in the iPhone app, this is what you see:
The Moment macro lens blocks the view. It won’t work. If you’re using the iPhone’s camera app, you can attach the macro lens ONLY to the 1x camera lens.
Moment, however, has their own camera app.
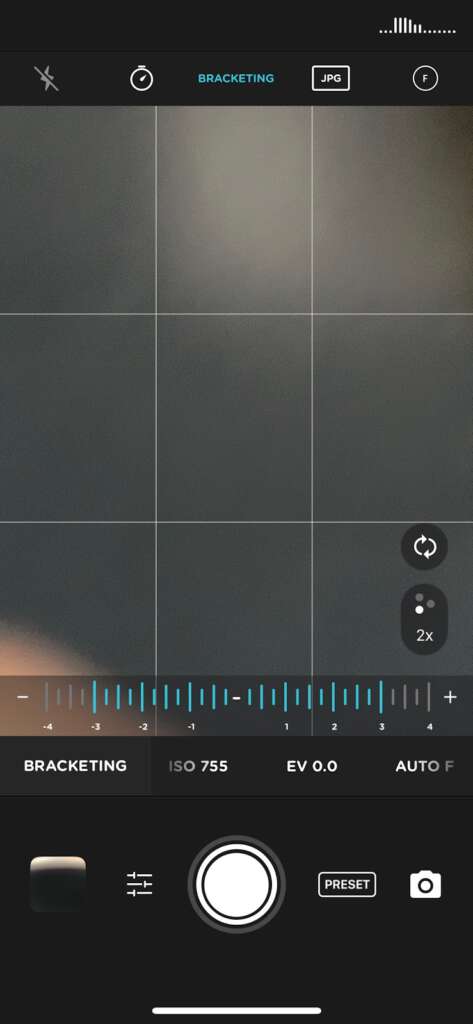
If you use their app, you can attach the macro lens to EITHER the 1x or the 2x lens. You can switch between the 1x and 2x lens inside the Moment app, just like you can in the native iPhone camera app.
Here’s a screenshot of the Moment camera app. See the little lens indicator on the bottom right side of the screen? I’ve selected the 2x lens.
So, using the Moment app, I took a macro photo of a $20 bill with the macro lens attached to the iPhone’s 1x lens, and then the same photo with it attached to the iPhone’s 2x lens.
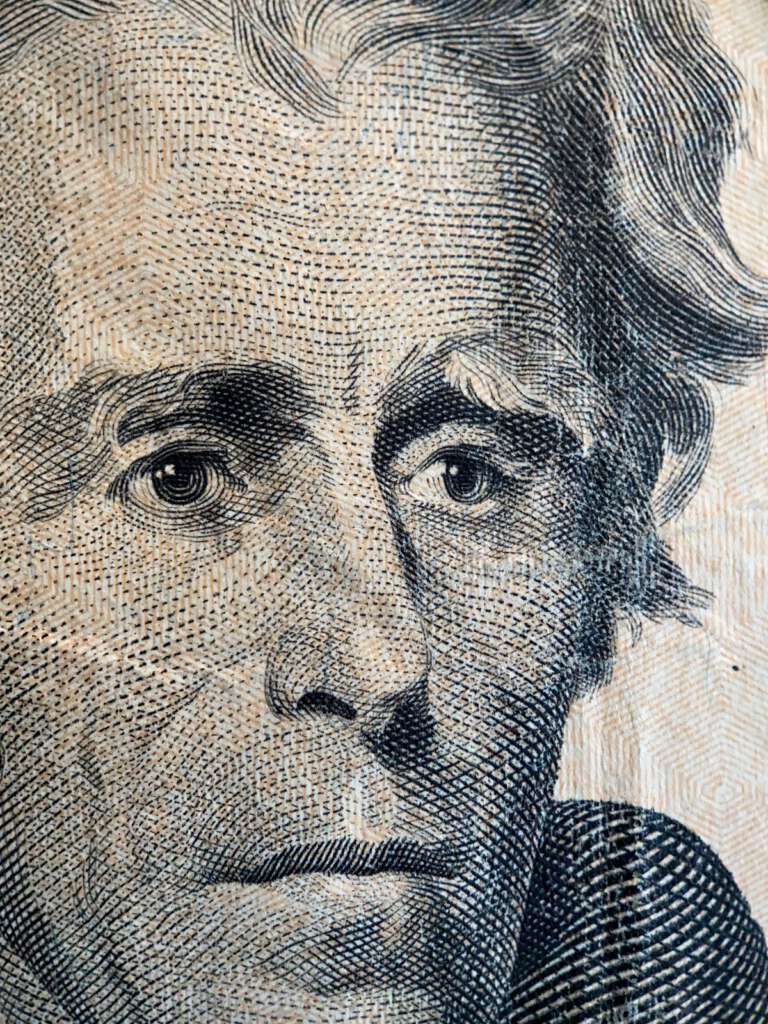
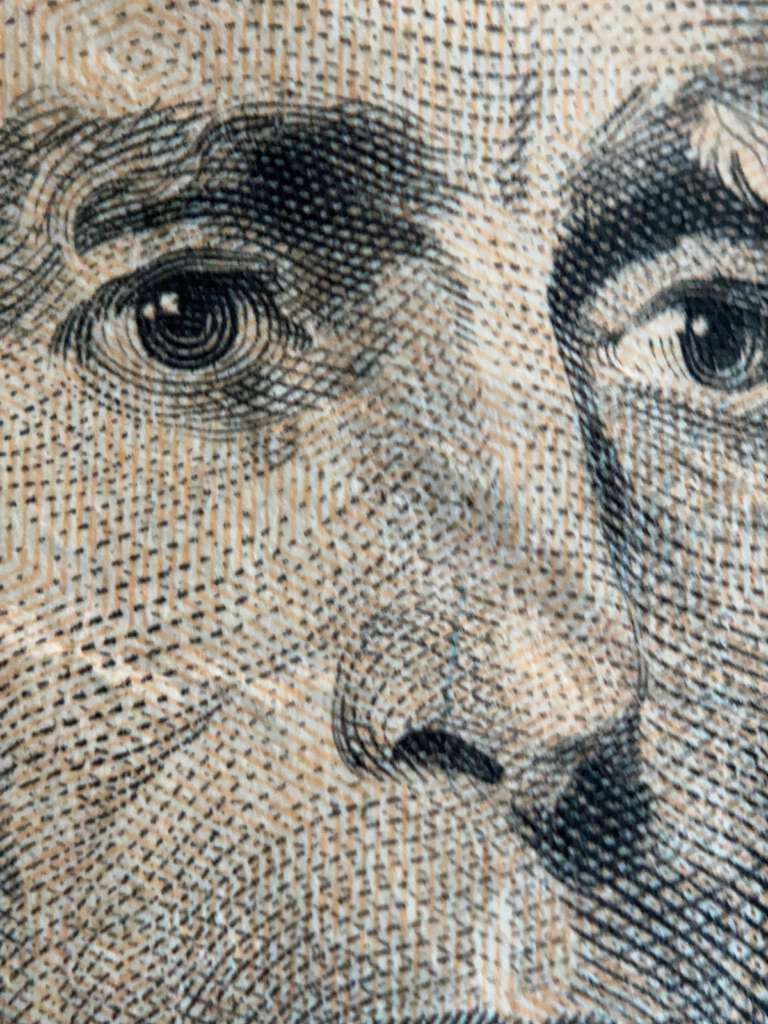
Yep, with the macro lens attached to the iPhone’s 2x lens, the image is twice as big, and it still retains excellent focus and detail.
The Moment camera app allows you to do an impressive amount of things. It would take another huge blog post to explain all of the great things the app has to offer. Just watch the YouTube video below and see what I mean.
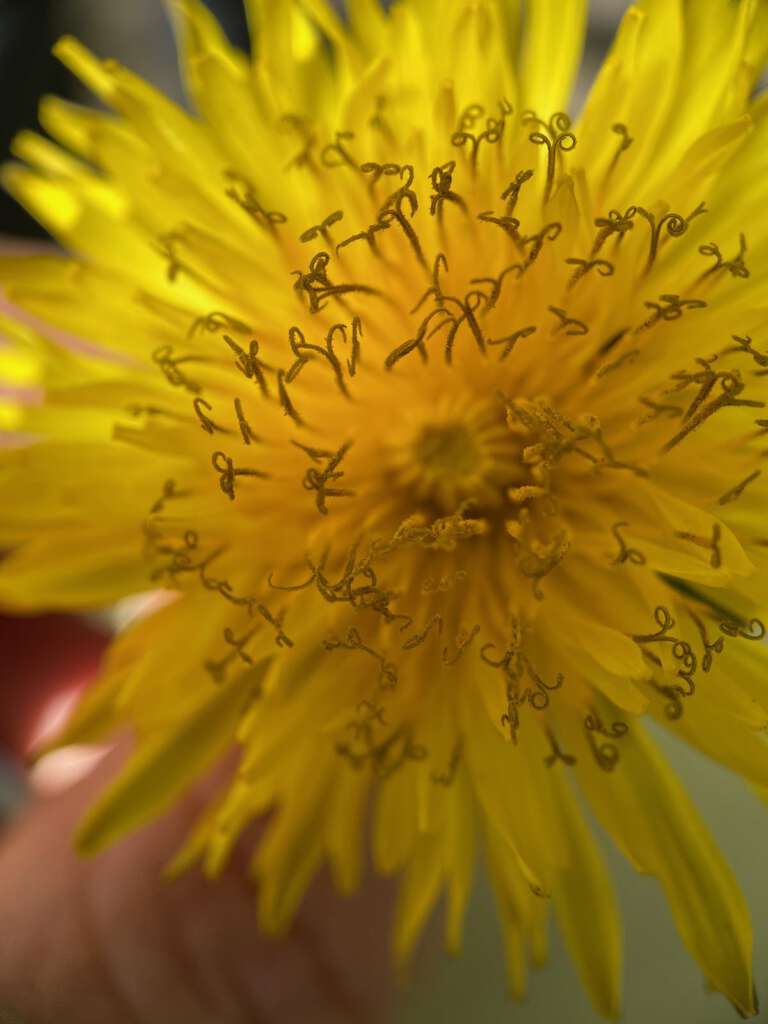
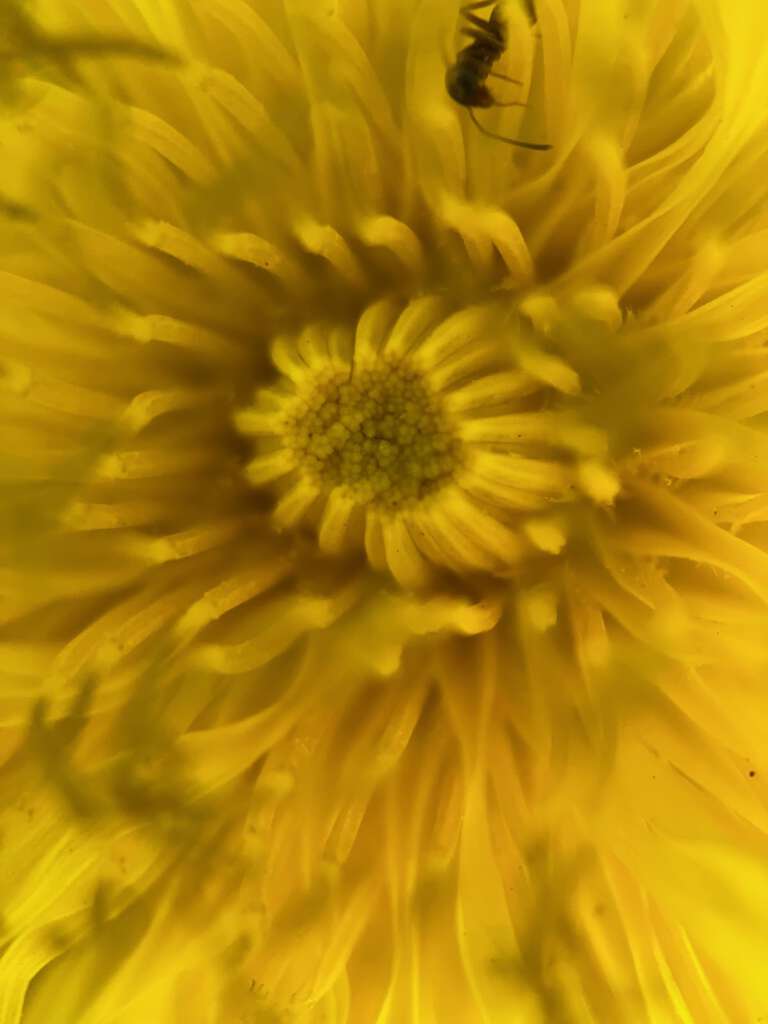
Most of the time, I don’t think I’m going to need to take such ultra-macro photos, but it’s nice to know that I have that option. I gave it a try with a dandelion the other day, and I discovered that there was an insect inside the flower. I didn’t notice the tiny insect while taking the photo; I only noticed it after I checked the camera roll.
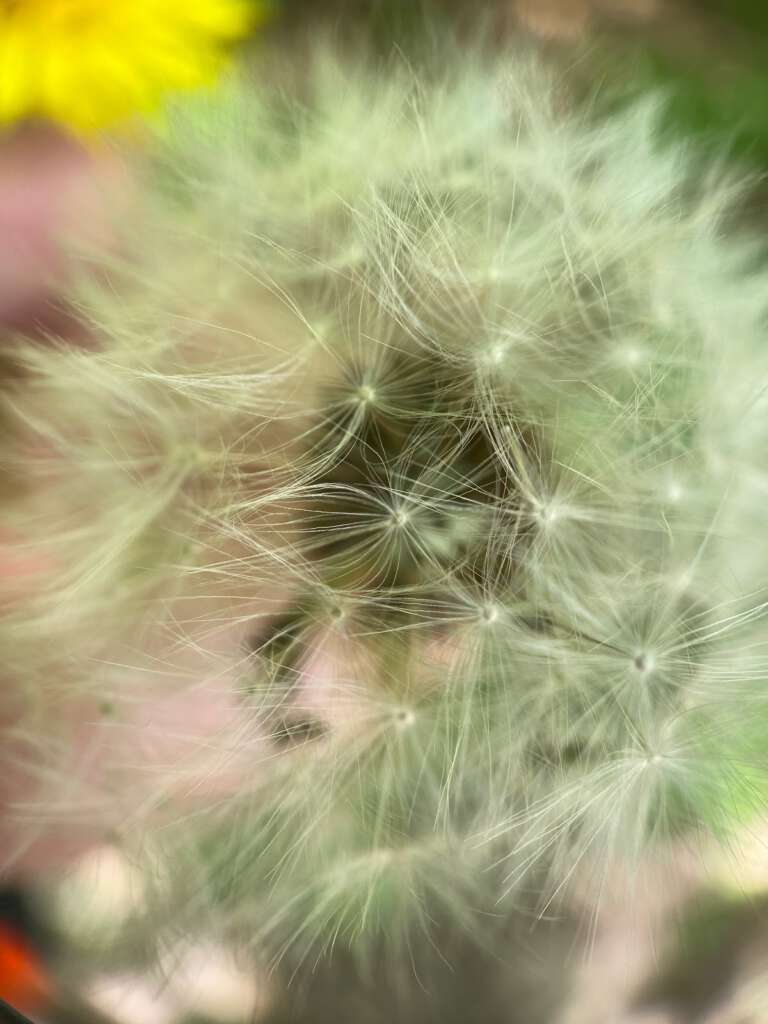
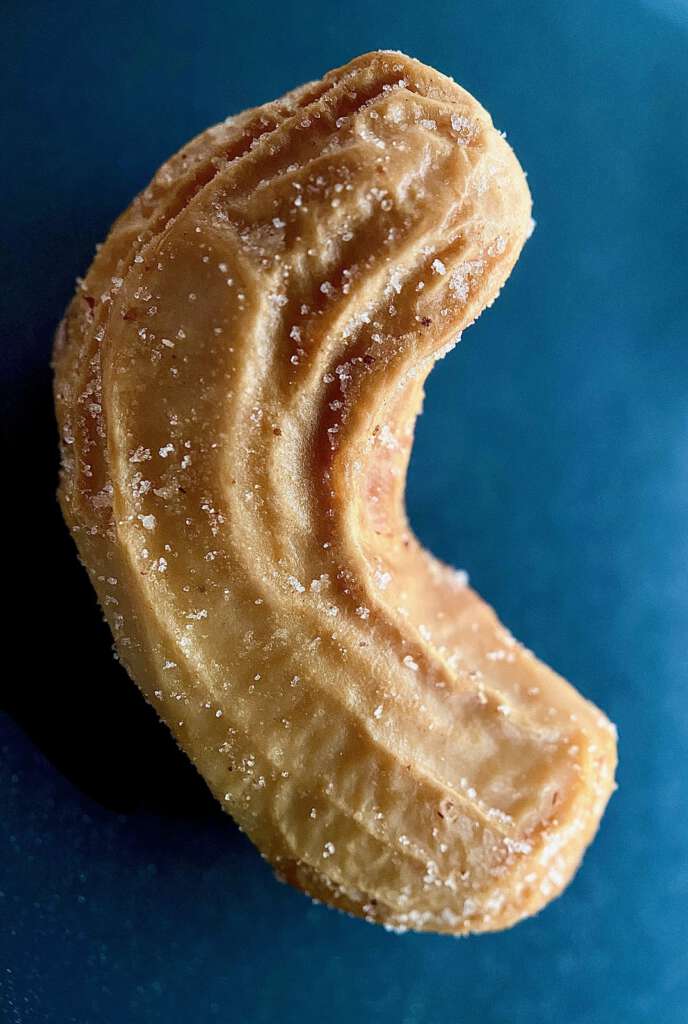
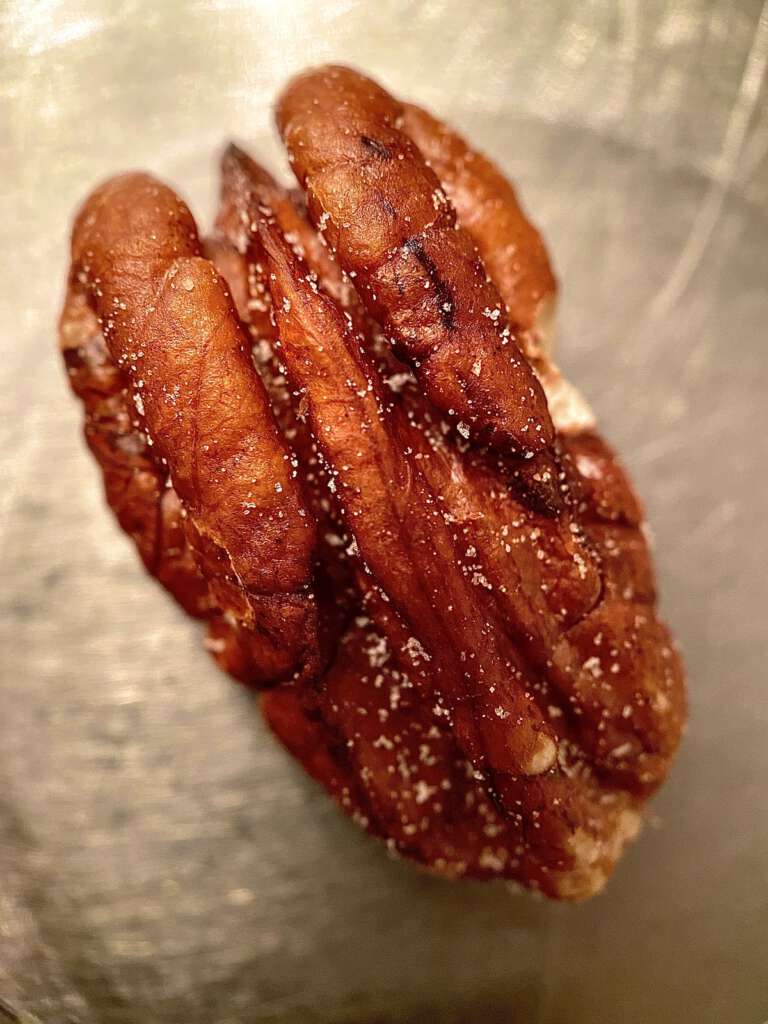
I’ll finish this post with a few more photos taken with the macro lens.
The last two photos are with the lens attached to the iPhone’s 1x lens. I like how you can see the salt grains on the cashew and pecan.
This macro lens is a high quality lens, as you can see. My goal is to be creative with it, and not just take flower photos. If I succeed, you’ll see the results in future blog posts.
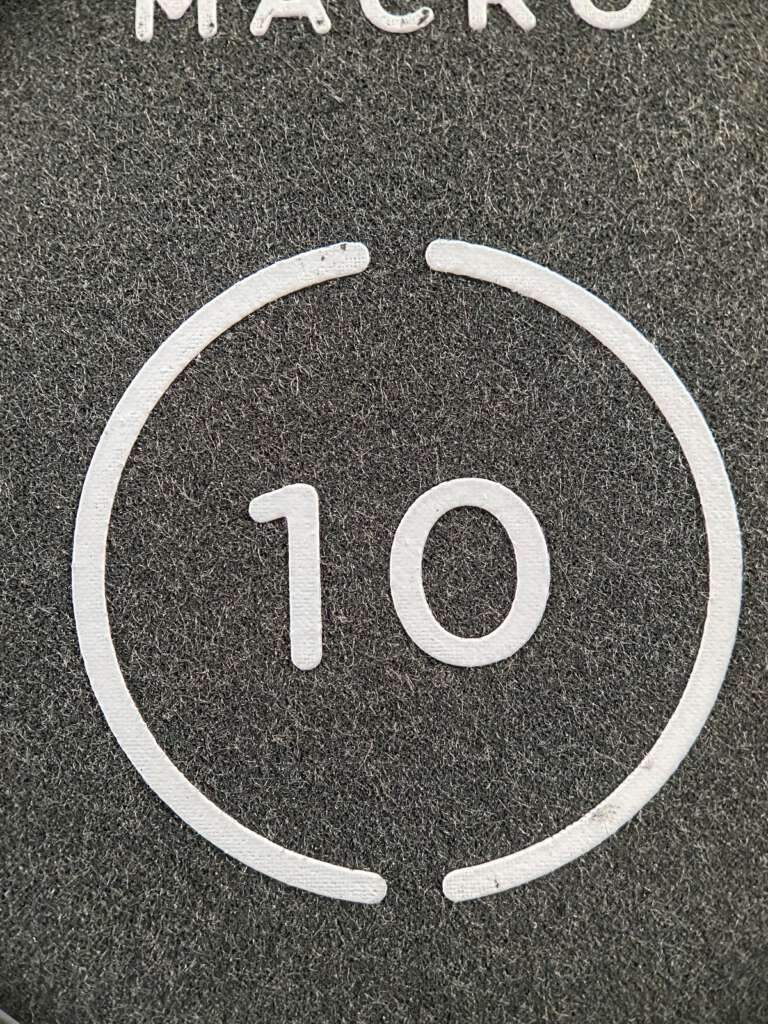
Moment Macro 10x Lens for Camera Phones
